How to Fix Dual Monitor Resolution and Scaling Issues Easily
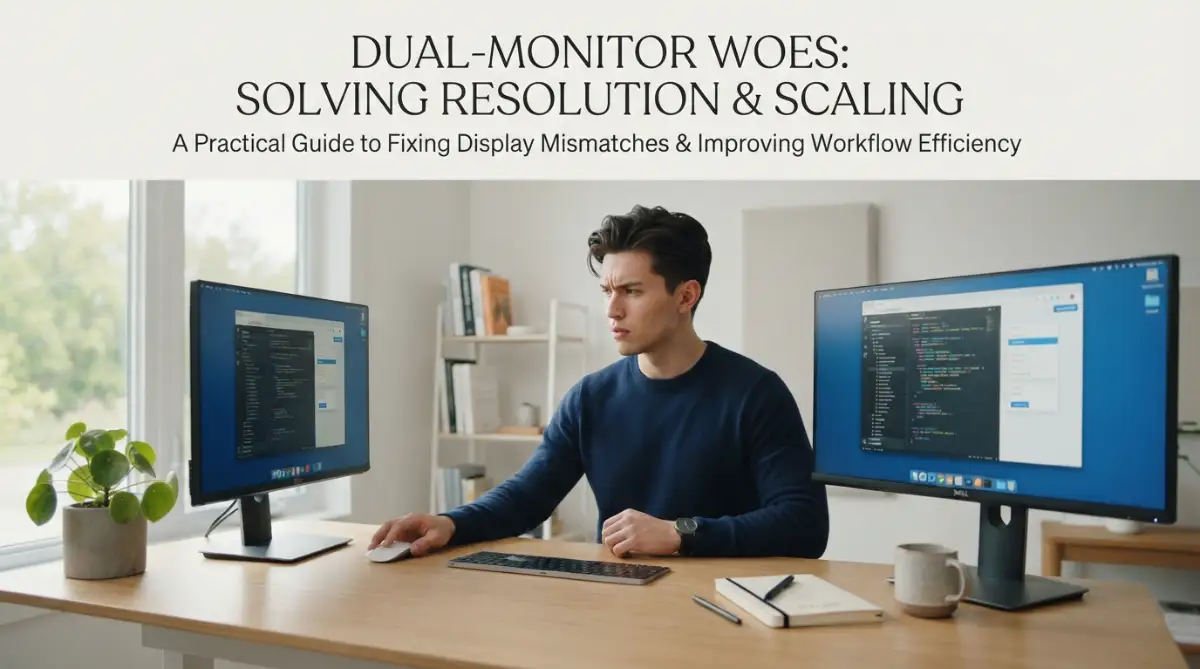
Setting up a second monitor should feel like a massive upgrade for your desk. But instead, you are probably reading this while staring at a perfectly sharp main screen and a completely blurry second display. If your mouse keeps getting stuck between monitors, or your desktop icons look hilariously massive, I know exactly what is going wrong. Let me show you how to fix these annoying resolution and scaling bugs in just a few minutes, without any complicated tech jargon.
Half of my spreadsheet looked huge and completely blurry, while the other half was tiny and razor-sharp. I spent the next three hours squinting at my screen. I kept clicking random display settings and rubbing my tired eyes in pure frustration. My mouse cursor kept getting trapped right in the middle of the two screens, refusing to move over.
It was a total nightmare, and honestly, I felt like throwing the new monitor out the window. If you are reading this right now, I know exactly how you feel. You spend good money on a nice screen, hoping it will make your work life better. But instead, you end up with a massive headache and zero extra productivity.
Every time you move a window, it resizes itself in the most annoying way possible. The text looks so fuzzy on one screen that you feel like you need new glasses. This is a very common reality for so many people trying to upgrade their home office. You just want things to work seamlessly.
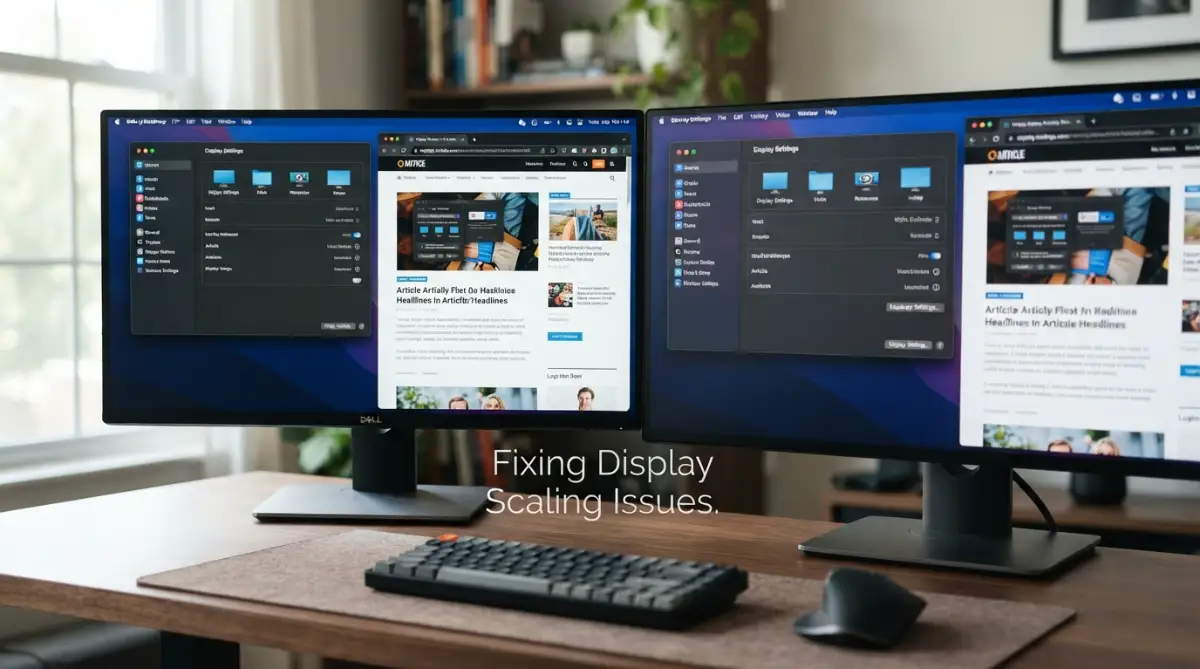
Quick Fix Summary (What You Will Learn Today):
- Fix the Blur: Why changing your scaling percentage (not your resolution) is the secret to sharp text.
- Mouse Traps: How to drag and align your virtual displays so your mouse moves smoothly between screens.
- Cable Check: Why your old HDMI cord might be the real reason your new 4K monitor looks terrible.
- Match Colors: A quick trick to make your white backgrounds look identical on two totally different monitors.
Making Sense of Pixel Density and Screen Sizes
Before we start clicking buttons, we need to understand why your screens look so different from each other. Think of your monitor as a giant grid made up of thousands of tiny little light bulbs. These tiny light bulbs are called pixels. When you have a 1080p monitor, it has roughly two million of these tiny bulbs lighting up your screen.
Now, imagine you buy a brand new 4K monitor of the exact same physical size. That new 4K screen has over eight million tiny bulbs packed into the same amount of space. Because the bulbs are so much smaller and packed tighter, everything drawn on that screen naturally becomes much smaller. This is exactly why your desktop icons look massive on your old screen and tiny on your new one.
The physical size of your monitor actually has nothing to do with how big the text appears. It is all about how tightly those pixels are packed together. Once you understand this basic concept, fixing the problem becomes so much easier. We just need to tell your computer how to handle these different pixel densities correctly.
Quick Reality Check: Resolution vs. Scaling
Sometimes we mix up these two settings. Here is how I keep them straight in my head:
- Resolution: The actual number of pixels on your screen (Always set this to the "Recommended" native option).
- Scaling: How big Windows or macOS makes your text and apps look (Adjust this until your eyes feel comfortable).
- If you mess with resolution to make text bigger, things get blurry. Always use scaling for size adjustments instead.
Fixing the Dreaded Blurry Text Problem
The most annoying issue with multiple displays is definitely the blurry text. You move your web browser to your second screen, and suddenly it looks like it was printed on wet paper. This happens because your operating system is trying to guess how to stretch the image to fit the new screen. Sometimes, it makes a really bad guess.
To fix this on a Windows computer, right-click anywhere on your empty desktop and select Display Settings. You will see a picture of your monitors represented as numbered boxes. Click on the box representing the monitor with the blurry text. Scroll down until you find the section called Scale and layout.
Here is where the magic happens. You will see a dropdown menu for changing the size of text, apps, and other items. Windows usually sets one to 100% and might set a higher resolution screen to 150% or 200%.
I used to think my brand new monitor was broken because the text was so incredibly fuzzy. I spent days trying to fix the software before I realized my old, cheap HDMI cable simply did not have enough bandwidth for the new display. Always check your cables first before ripping your hair out over software settings!
If changing the scale percentage makes things the right size but they remain blurry, you need to sign out of your computer. When you change scaling settings, many applications will not look crisp until you completely log out and log back in. A simple restart works perfectly, too. Do not skip this step, as it solves about ninety percent of blurry text complaints.
My Personal Pro-Tip for Windows Users:
If the standard 125% or 150% scaling options still look a bit off to you, Windows actually lets you set a custom number. Just search for "Advanced scaling settings" in your start menu. I personally use a custom scale of 115% on my 1440p monitor, and it makes my fonts look incredibly smooth without making my open windows feel cramped.
Getting Your Mouse to Move Smoothly Between Screens
Have you ever tried to move your mouse to your second screen, but it just hits an invisible wall? This is incredibly frustrating, especially when you are trying to work quickly. It happens because your computer does not actually know where your monitors are physically sitting on your desk. It only knows what you tell it in the settings.
Go back into your Display Settings where you see those numbered boxes. These boxes are completely interactive. You can click and drag them around to match exactly how your monitors are arranged in real life. If your laptop is below your main monitor, drag the laptop box underneath the big monitor box.
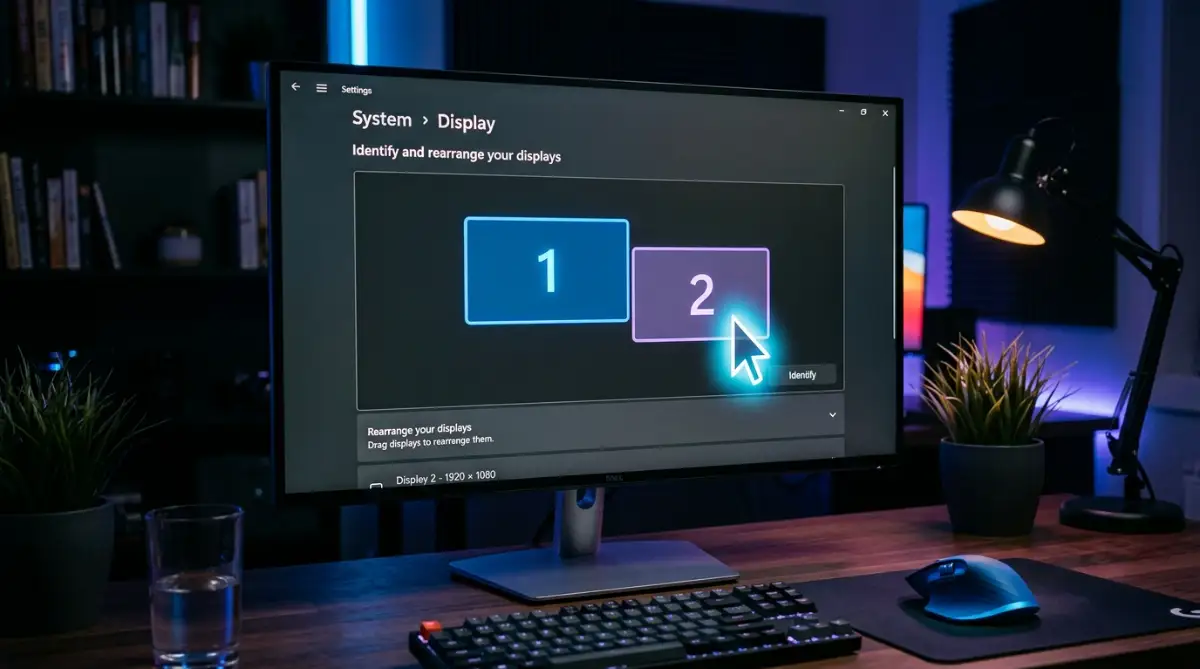
Do You Want to Master Your Display Layout? Watch This Quick Guide:
Setting up the physical arrangement in your software is the biggest secret to a smooth workflow. If you want to see exactly how to drag and drop these boxes to completely eliminate that invisible wall, check out this helpful visual breakdown below.
Pay close attention to the size of the boxes in the settings menu. If you have a 4K monitor and a 1080p monitor, the 4K box will look huge compared to the 1080p box. This size difference is what causes your mouse to get stuck in the corners. Try to line up the boxes in a way that creates a smooth, continuous edge right in the middle where you usually move your mouse.
The Refresh Rate Trap You Need to Avoid
Sometimes your screens look perfectly fine, but one of them feels strangely slow or laggy. When you drag a window around, it might look smooth on your main display but choppy on your second one. This is known as a refresh rate mismatch. Your refresh rate is simply how many times per second your monitor updates the image on the screen.
Most standard office monitors refresh 60 times a second (60Hz). However, newer gaming monitors or high-end displays might refresh 120 or even 144 times a second. If you have one fast monitor and one standard monitor, your eyes will definitely notice the difference. Your brain will register the slower monitor as being laggy, even if it is working perfectly fine.
To fix this, you need to make sure your computer is actually sending the fastest signal possible to your good monitor. In your display settings, scroll down and look for Advanced display settings. Click on it, and you will see a dropdown menu to choose your refresh rate. Make sure this number is set to the highest possible option for both monitors.
Myth vs. Reality: Dual Monitor Setup Secrets
There are a lot of rumors out there about setting up multiple screens. Let us clear up some of the most common misunderstandings right now.
Myth: You must buy two identical monitors for them to work correctly together.
Reality: Not at all. Your computer can easily handle completely different brands, sizes, and resolutions. You just have to spend a few extra minutes tweaking the scaling settings we talked about earlier.
Myth: Using a second monitor will slow down your computer significantly.
Reality: For basic office work, web browsing, and watching videos, the performance drop is completely unnoticeable on modern computers. Unless you are running heavy graphic design software or playing intense games across both screens, your computer is perfectly capable of handling the extra workload.
Myth: Any cable will work as long as it fits into the port.
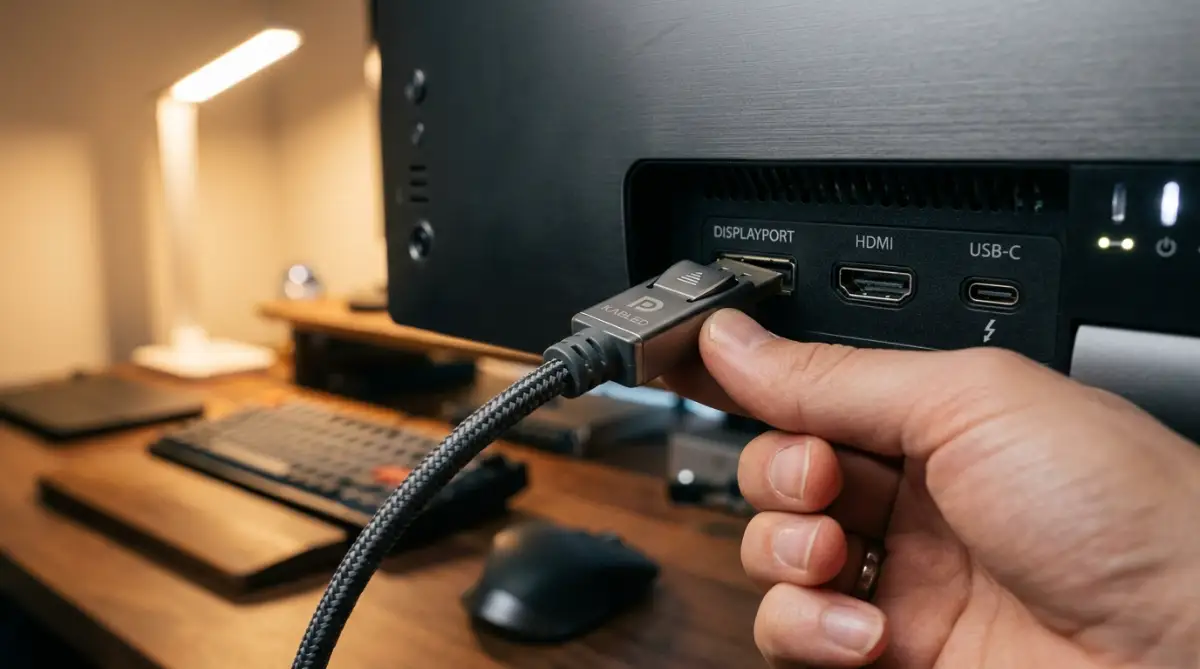
Reality: This is a huge mistake many people make. Older HDMI cables simply cannot carry enough data to run a 4K monitor at a smooth speed. You need to pay attention to the type of cable you are using.
Choosing the Right Connection for Your Screens
Understanding the cables on the back of your monitor can feel a bit overwhelming. But it is actually quite simple once you know what to look for. Using the wrong cable is the number one reason people get stuck with poor resolution or black screens.
If you are using a laptop, you might only have one HDMI port or a few USB-C ports. If you want to connect two external monitors to a laptop with limited ports, you will need a docking station or an adapter. Make sure any adapter you buy clearly states it supports the specific resolution of your monitors, otherwise, you will be right back to blurry text.
Dealing with Mac Display Quirks
If you are using an Apple computer, your experience with multiple displays is going to be slightly different. Macs handle screen scaling in a very unique way compared to Windows. Apple really wants you to use their own high-density displays, so connecting a standard office monitor can sometimes result in surprisingly small or fuzzy text.
To fix this on a Mac, open your System Settings and go to Displays. You will not see a percentage dropdown like on Windows. Instead, you will see a series of text size options ranging from "Larger Text" to "More Space".
Hold down the Option key on your keyboard while clicking the "Scaled" button. This hidden trick will reveal a secret list of exact resolutions. You can test out these different resolutions until you find one that makes your text look sharp and perfectly sized. It might take a few tries to find the sweet spot, so be patient.
The Secret to Perfect Color Matching
Have you noticed that a white background on one screen looks slightly yellow, while on the other screen it looks blue? This color mismatch can drive you crazy, especially if you are working with photos or designs. Even if you buy two of the exact same monitors from the same store, their colors might look slightly different right out of the box.
Every monitor has physical buttons on the bottom or the back of the screen. You need to press these buttons to open the monitor's built-in menu. Look for the color temperature settings. You will usually see options like "Warm", "Cool", or "Custom".
Set both monitors to the exact same color profile as a starting point. From there, pick one monitor to be your main reference point. Open a blank white Word document and stretch it across both screens. Then, use the physical buttons on the second monitor to adjust the red, green, and blue levels until the white matches your main screen.
It takes a little bit of trial and error, but spending ten minutes matching your colors will make your setup feel so much more premium. Your eyes will transition smoothly between the screens without feeling that sudden jolt of color change.
Organizing Your Digital Life Across Screens
Once you have your resolution sharp and your colors matched, you need to think about how you actually use the screens. A dual-monitor setup is only useful if you use the space efficiently. Otherwise, you just end up with two messy desktops instead of one.
I like to treat my main screen directly in front of me as my "focus zone". This is where I put the specific document or website I am actively reading or writing on. The second screen, usually off to the side, becomes my "reference zone". This is where I keep my email, chat applications, or music player.
By separating your work like this, you train your brain to stay focused. You stop constantly minimizing and maximizing windows, which is exactly why you bought the second screen in the first place. You can also use built-in keyboard shortcuts to quickly snap windows perfectly to the left or right halves of your screens. On a Windows machine, simply hold the Windows key and press the left or right arrows.
This simple trick instantly organizes your workspace. It completely removes the need to drag the edges of windows with your mouse. When your digital space is clean and organized, your mind feels much clearer. You will finally be able to sit back and truly enjoy the amazing home office you have built.
Beyond the Basics: Pro-Level Secrets for Flawless Screens
Once you have fixed the basic resolution and scaling problems, you might think your job is completely done. But there is a whole other level of performance hiding right inside your computer. Most people just accept the default settings their operating system hands them. If you want a truly seamless experience, we need to look a little deeper into how your system handles graphics.
The first big secret lies in your graphics card software. Whether you have an Intel, NVIDIA, or AMD processor handling your video output, they all come with their own dedicated control panels. These control panels completely bypass the basic Windows or Mac settings. They give you direct access to the raw data flowing to your monitors.
You can use these tools to create custom resolutions that your computer might not show by default. Sometimes, an older monitor will slightly cut off the edges of your screen. This annoying issue is called overscan. By opening your specific graphics control panel, you can manually shrink the display area pixel by pixel until it fits perfectly inside your physical monitor frame.
Speaking of raw data, many people do not realize how heavily multiple displays rely on understanding modern display connection types. If you are using a docking station to run two high-resolution screens from one laptop port, you are pushing massive amounts of information through a single wire. This can sometimes cause your screens to flicker black randomly.
To stop this flickering, you need to manage your computer's internal resources properly. Running a complex multi-screen setup generates a lot of extra heat. When your processor gets too hot, it automatically slows down the video output to protect itself. This is why preventing your computer from overheating is unexpectedly tied to having stable external displays.
If you want to take your screen organization to the absolute highest level, you need a window management tool. Dragging and dropping windows manually takes up too much time. Microsoft actually offers a free set of tools that most people do not even know exists. You can learn how to install and use the official Microsoft PowerToys application to create custom invisible grids on your screens.
With a tool like FancyZones inside PowerToys, you can hold the shift key and drag a window into a pre-made perfectly sized box. I use this every single day to split my ultra-wide monitor into three perfectly equal sections. It completely changes the way you interact with your digital workspace.
Another secret the pros use involves custom color profiles, known as ICC profiles. Every monitor model has specific color files created by professional calibrators available for free online. By downloading the specific ICC profile for your exact monitor model, you tell your graphics card exactly how to correct the default, washed-out colors.
We also need to consider how your system juggles background tasks when powering extra pixels. If your mouse stutters while moving across screens, it might not be a cable issue at all. Sometimes, hidden apps are eating up the memory your graphics card desperately needs. Learning about managing background applications effectively can instantly smooth out that annoying mouse stutter.
Finally, always keep your display firmware updated. Yes, modern monitors actually have their own internal software just like your phone does. Manufacturers regularly release small updates that fix sleep mode bugs and compatibility issues. Check the support page for your specific monitor model to see if a firmware update is available to download.
The Hidden Pitfalls That Ruin Desktop Setups
Building a beautiful home office is an amazing feeling, but it is so easy to fall into traps that silently ruin the experience. I have seen so many people spend good money on beautiful hardware, only to end up with terrible eye strain and daily frustration. The most painful mistake I see everywhere is completely ignoring physical screen placement.
Your eyes are incredibly sensitive to tiny changes in focal distance. If one monitor is pushed further back on your desk than the other, your eyes have to constantly refocus every time you look over. Doing this hundreds of times a day will leave you with a massive headache by the afternoon.
You need to place both monitors at the exact same distance from your face. They should curve slightly inward like a soft hug, keeping every corner roughly the same distance from your eyes. Getting this physical setup wrong is a huge reason why people suffer from computer fatigue. This ties directly into understanding how screen brightness and contrast settings affect your daily comfort.
Another incredibly common disaster is buying cheap, unbranded display adapters. People will buy a highly expensive 4K monitor and then connect it to their laptop using a five-dollar adapter they found in a bargain bin. These cheap adapters simply do not have the internal processing chips required to handle high-bandwidth video signals.
They will secretly downgrade your expensive monitor to a horrible, blurry resolution, or limit your refresh rate to a choppy 30 frames per second. If your mouse feels like it is dragging through thick mud on your new screen, your adapter is likely the guilty party. Always invest in certified cables that openly display their maximum supported bandwidth. If you want to dive deeper into official cable specifications, you can check the Intel support guide on multiple display configurations.
Many users also completely misunderstand how their computer hardware actually communicates. They plug their main high-speed gaming monitor into their motherboard instead of their dedicated graphics card. The ports on your motherboard are connected to the basic graphics processor built into your main CPU.
This basic processor is incredibly weak compared to a real graphics card. When you plug a high-end screen into the wrong port, you completely bypass all the graphical power you paid for. If you are unsure where your specific ports lead, looking into how your computer motherboard processes data can save you from this massive performance bottleneck.
I also want to warn you about the dangers of using heavy software to force bad hardware to work. Sometimes people download sketchy third-party applications hoping to force their screens into custom resolutions. These bloated programs often run quietly in the background, slowing down everything you do.
Instead of adding more software junk to your system, you should focus on removing unnecessary software tools to keep your machine running smoothly. A clean, optimized operating system handles multiple displays infinitely better than a system bogged down by fifty different background utilities.
Lastly, do not ignore the physical health of your workspace. Staring at mismatched screens without proper ergonomic support can cause serious physical pain over time. If you want to understand the safest ways to arrange your desk and monitors, the official OSHA workstation guidelines offer excellent, science-backed advice on physical setup.
Your Personal Action Plan for a Perfect Workspace
We have covered a lot of technical ground together, but fixing your workspace does not have to be an overwhelming chore. You now have the exact knowledge needed to turn that frustrating blur of pixels into a sharp, organized, and beautiful command center. The days of squinting at fuzzy text and fighting with invisible mouse barriers are finally over for you.
Start your physical adjustments today. Push your monitors together, angle them perfectly toward your chair, and make sure those cables are plugged into the correct, high-power ports on your machine. Then, simply open your display settings and align those virtual boxes to match reality.
Remember that a smooth digital experience is heavily tied to improving overall system performance. When your computer runs happily, your screens will display happily. Take five extra minutes to adjust your scaling percentages and sign out to lock those changes in completely.
Do not be afraid to experiment with different color profiles or hidden resolution menus until everything feels exactly right for your personal workflow. Technology is supposed to adapt to your needs, not the other way around.
When I finally took the time to dial in my own monitor settings, my daily work stress practically vanished overnight. I felt a massive sense of relief knowing I could just sit down and start typing without fighting my computer first. I know you can build that exact same peaceful environment for yourself starting right now.
Common Questions About Multi-Screen Configurations
Why does my second monitor look so washed out and dull?
This usually happens because your computer is sending a limited color signal instead of a full one. You can easily fix this by opening your graphics card control panel (like NVIDIA or AMD settings) and changing the "Output Dynamic Range" from Limited to Full. Sometimes, just matching the physical brightness and contrast buttons on the monitor itself fixes the dull look instantly.
Can I run a 4K display and a 1080p display at the exact same time?
Yes, absolutely! Modern computers are completely fine with running vastly different resolutions side by side. You just need to ensure you adjust the scaling percentage in your display settings so that the text on the 4K screen doesn't look incredibly tiny compared to the 1080p screen.
How do I stop my mouse from getting stuck in the corners between monitors?
Your mouse gets trapped because the operating system thinks the two screens are different physical sizes based on their resolution. Open your display settings and drag the virtual monitor boxes so they align perfectly in the middle. Creating a smooth, flat edge between the two boxes in the settings menu will let your mouse glide through easily.
Do I need to buy a special graphics card to run three or four monitors?
If you are just typing documents and browsing the web, most modern laptop and desktop processors can handle three monitors without extra hardware. However, if you are editing 4K video or playing games across all those screens, you will definitely need a dedicated, high-end graphics card to handle the massive workload.
Why do my desktop icons move around every time my computer goes to sleep?
When your computer sleeps, it sometimes temporarily loses the connection to the DisplayPort or HDMI cable, causing Windows to panic and shove all your icons onto the main screen. You can stop this by updating your graphics drivers and making sure your monitor's firmware is fully up to date. Using a tool to lock your desktop layout can also solve this annoying bug quickly.
Disclaimer: The information provided in this article is for educational and informational purposes only. Technology setups, operating systems, and hardware configurations vary widely. We recommend consulting official manufacturer guidelines or speaking with a certified IT professional before making significant changes to your computer hardware or downloading third-party system tools. We are not responsible for any data loss, hardware damage, or technical issues that may occur.