I used to delete photos first whenever my phone warned me, and I regretted it every time. Then I learned the order that actually works. Back up first, clear the hidden clutter second, and only then decide what, if anything, needs to go. That order saved my photos, and it is the order in this guide.
The Warning That Always Arrives at the Worst Moment
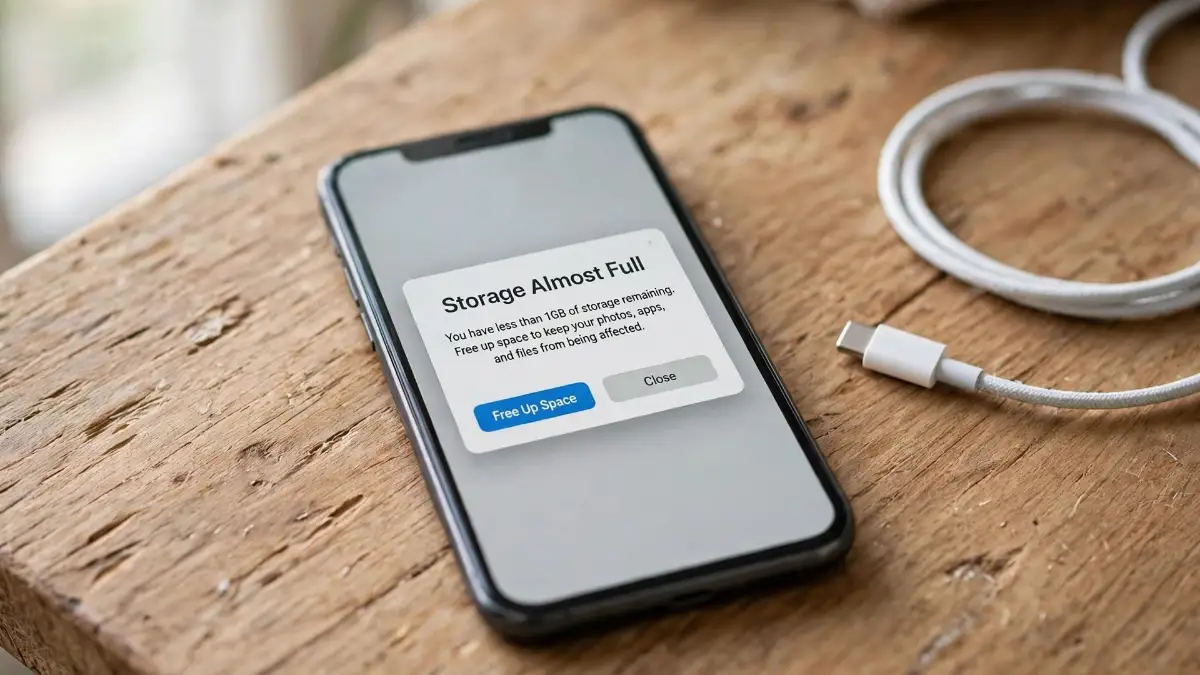
My phone warned me about storage at the worst moment I can imagine. I was at a family lunch, my niece was blowing out her birthday candles, and I lifted my phone to take the photo. That was the moment it chose to stop me.
Instead of a camera, I got a warning: storage almost full.
My stomach dropped. I did not want to delete a single photo in front of everyone, and I did not want to miss the moment either. So I borrowed someone else's phone for the photo, smiled through lunch, and went home annoyed at my own phone for picking that exact moment.
That night, I sat down and looked at what was really eating my storage. The answer surprised me. My photos were not the main problem at all. Hidden clutter was.
Old downloads, app cache, offline videos I had forgotten about, and apps I had not opened in months were quietly taking up far more room than I expected. Once I cleaned those up, my phone felt new again, and my photos stayed exactly where they were.
If your phone is warning you right now, I want you to know this first. You do not have to choose between your memories and a working phone. You can keep your photos and still win back a lot of space, if you clean in the right order.
In a Hurry? Here Is What Actually Matters
Back up first, delete second. Never the other way round.
Photos are rarely the main problem. Hidden clutter usually is.
Cache, downloads, and forgotten apps free the most space, safely.
Check what is eating space before you delete anything.
That order matters, and it starts with one simple rule. Back up first, delete second, and never the other way round. When your photos are safe in a second place, every other step becomes calm instead of scary.
In this guide, I will walk you through the same steps I used. We will find what is filling your phone, clear the safe clutter first, back up your photos properly, and then set up small habits so the warning does not come back in a month.
You do not need any special skill for this. You need about 30 minutes, a charger, and a Wi-Fi connection for the backup part. I will also tell you what not to touch, because one wrong tap can log you out of apps or remove things you actually wanted.
First, See What Is Really Eating Your Space
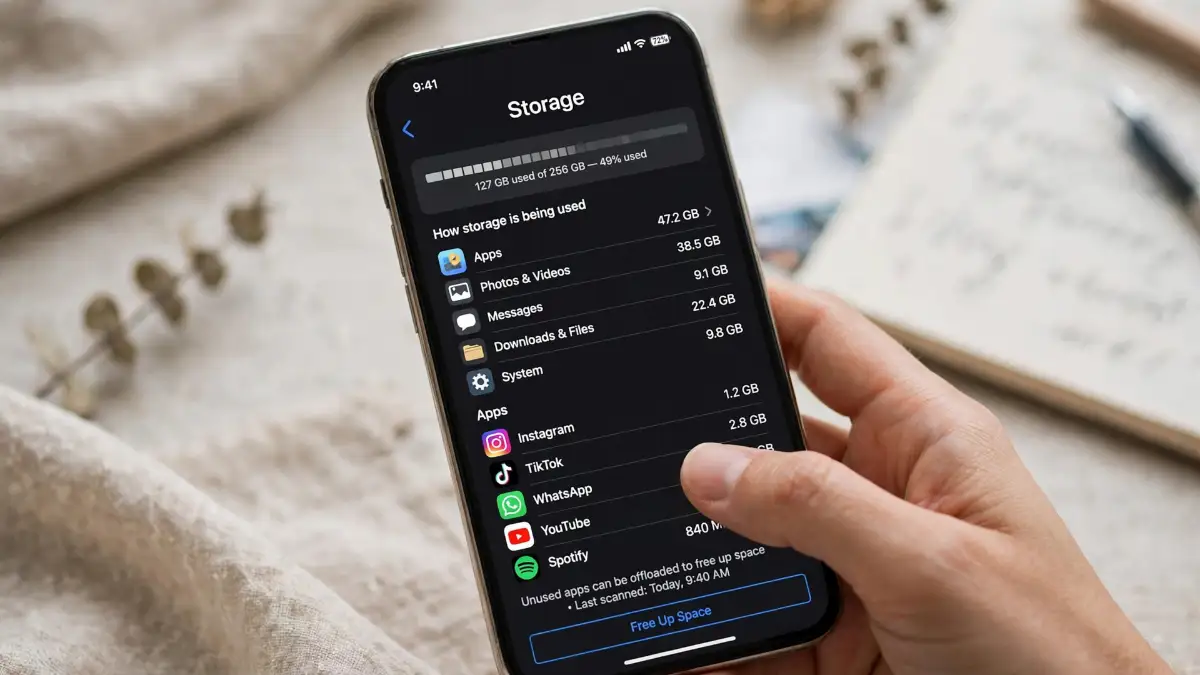
Before you delete anything, open your storage screen and look at it like a detective. This one step saves you from guessing, and guessing is how good photos get deleted by mistake.
On most Android phones, go to Settings, then Storage. On an iPhone, go to Settings, then General, then iPhone Storage. Give the screen a few seconds to load, because the numbers change as your phone counts everything.
You will see categories like Photos, Videos, Apps, Downloads, Messages, and System. Tap into the biggest ones. On my phone, the biggest surprise was not photos. It was a video app with downloaded shows I had already watched, and a browser with months of cached files.
Write down, or just remember, your top three categories. Those three are where almost all your free space will come from. If photos are at the top, do not panic yet. We will deal with photos safely in the next section, after backup.
If apps are at the top, tap into the app list and sort by size. You will often find one or two apps that are far bigger than the rest. A social app, a map app with offline maps, or a music app with downloads can each hold several gigabytes without you noticing.
This storage screen is your map, and cleaning without it is like tidying a house with the lights off.
Also check how much free space you have right now. If you have less than 2 GB free, your phone may struggle to update apps or take photos. That is a good reason to act today, but it is not a reason to rush and delete things at random.
Take a screenshot of the storage screen if it helps you. I did that, and it made it much easier to compare before and after. It also stopped me from cleaning the same thing twice.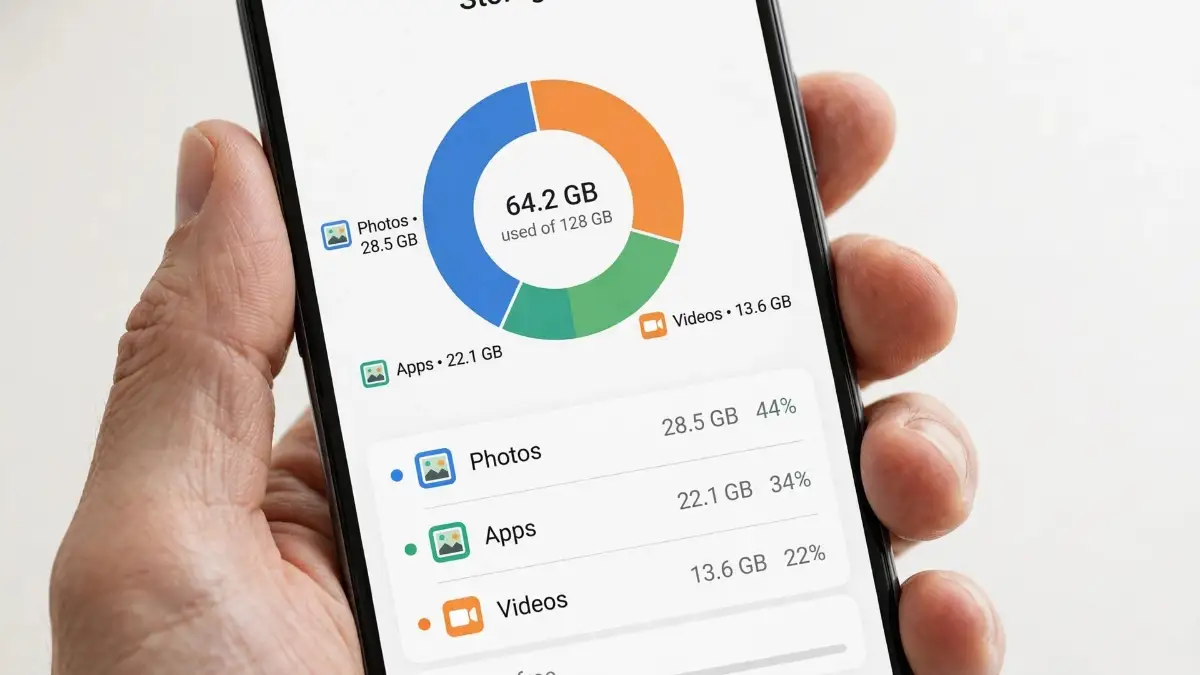
The Safe Cleanup: Cache, Downloads, and Forgotten Files
Now we start with the easy wins. These are files your phone can live without, and clearing them does not touch your photos at all.
Start with app cache. Cache is just temporary data that apps save so they load faster next time. Over weeks and months, that temporary data grows, and it grows a lot in social, browser, and video apps.
On Android, go to Settings, then Apps, pick an app, then Storage, then Clear Cache. Do not tap Clear Data or Clear Storage by mistake. Clear Cache only removes temporary files. Clear Data can log you out and remove your settings inside that app, and that is a very different thing.
On an iPhone, there is no single Clear Cache button for every app. Instead, you can offload an app, which removes the app itself but keeps your documents and data. When you reinstall it, your stuff comes back. You can also clear cache inside some apps, in their own settings menus.
I started with my five biggest apps, and that alone gave me back more than a gigabyte. It felt like finding money in an old jacket. The apps still worked fine, they just had to reload a few images the next time I opened them.
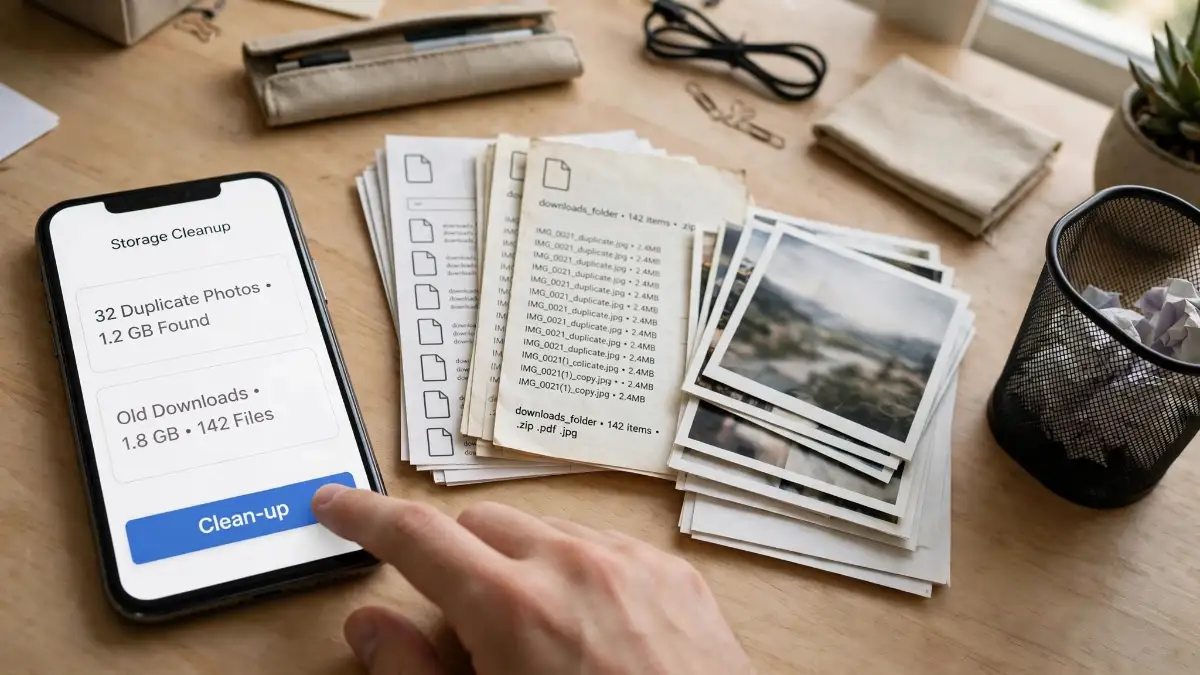
Next, open your Downloads folder. This folder is a graveyard of old files. I found PDFs I had read once, setup files, memes someone sent me, and screenshots I no longer needed. I deleted the ones I was sure about, and I moved one important document to a cloud folder before I touched anything else.
Then check your messaging apps. Many phones save every photo and video from group chats, even when you never asked for it. In your chat app settings, turn off auto-download for media, or set it to Wi-Fi only. Then open your largest chats and remove old videos you already have saved elsewhere.
If you are not sure about a file, do not delete it yet. Move it to a backup folder first, or leave it for the second pass.
Old offline downloads are another big win. Open your music app, your video app, and your podcast app. Look for downloads. I found two full seasons of a show I had finished, and a podcast series I had stopped listening to months ago. Removing those gave me back several gigabytes in about two minutes.
You should also empty your trash or recently deleted folder at the end of this pass. Deleted files often sit in trash for 30 days, and they still count against your storage until they are gone for good. Only empty trash when you are sure you do not want those files back.
By now, your phone should already feel lighter. You have not deleted a single photo, and you have already done the hardest part, which is starting.
Back Up Your Photos Before You Touch Them
This is the step that makes the whole promise work. Your photos stay safe because they live in two places, not just one.
Pick the backup service you already use, if you have one. For many Android users, that is Google Photos. For many iPhone users, that is iCloud Photos. Use the one that is already on your phone, because switching in the middle of a cleanup only adds confusion.
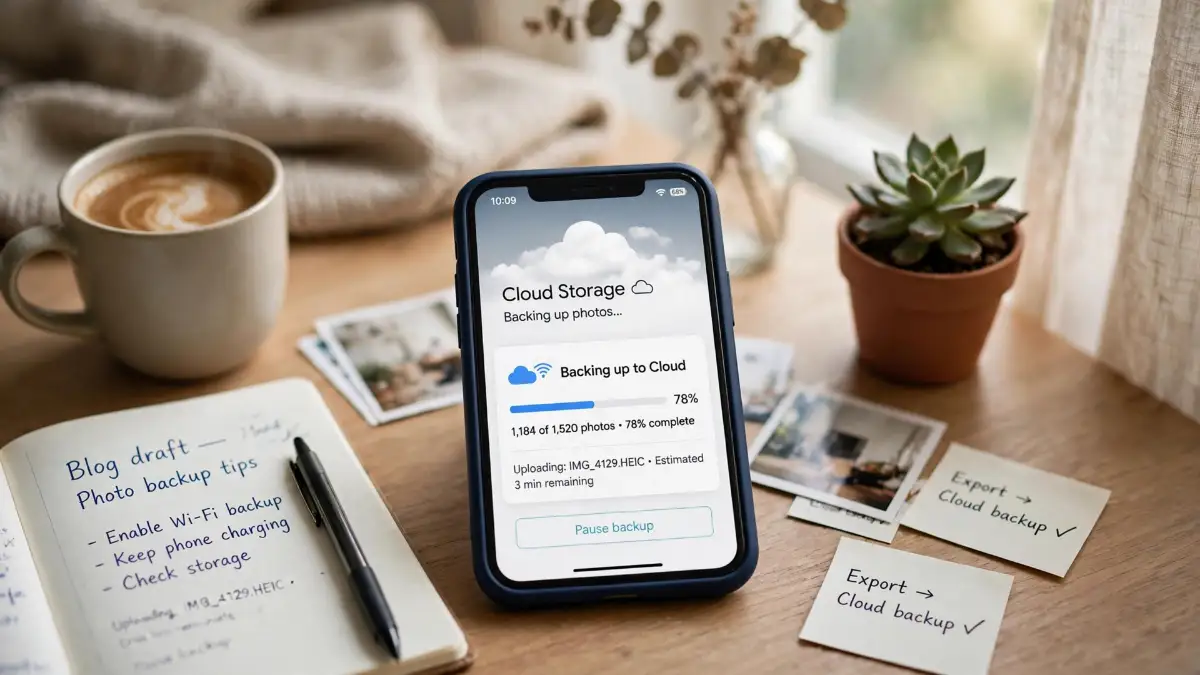
Open your photo backup app and check that backup is turned on. Then check that it is actually finished. Look for a message like backup complete, and look at the date of your newest backed-up photo. If your newest photos are still waiting to upload, plug in your phone, connect to Wi-Fi, and wait.
Do not skip this check. A backup that is only half finished is not a backup yet.
I once assumed my photos were backed up because the app icon looked normal. When I checked properly, I found a whole weekend of photos still waiting, because I had been on mobile data and the app was set to Wi-Fi only. I am glad I checked before I cleaned anything.
Once backup is complete, open your backup on another device or in a web browser, if you can. Pick three photos: one recent, one old, and one video. Open each one and make sure it loads fully. If all three load, your backup is real, not just a promise on a screen.
Now you have a choice. You can use the free up space tool in Google Photos, which removes local copies of photos that are already backed up. Your photos stay in your Google Photos library, and you can still see them in the app. They just stop taking up room on your phone itself.
On an iPhone, you can turn on Optimize iPhone Storage in your iCloud Photos settings. Your phone then keeps smaller versions on the device, and the full versions stay in iCloud. When you open a photo, the full version downloads again.
Both options sound a little scary the first time, so here is the rule I use. Only use a free up space tool after you have opened and checked your backup, and only when you are on Wi-Fi with your phone charged.
If you do not want to use the cloud at all, that is fine too. Copy your photos to a computer or an external drive first. Plug in your phone, copy the whole camera folder, wait until the copy finishes, and then open a few photos from the copy to make sure they work. Only then should you think about removing local copies.
A second copy is what turns a risky cleanup into a safe one. It is also what protects you if your phone is lost, stolen, or damaged later. Think of backup as the seatbelt for this whole guide.
Offload Apps You Love but Rarely Open
Apps are sneaky. You install one for a trip, a sale, or a single event, and then it sits on your phone for a year, updating itself and growing bigger.
Go back to your app list and sort by last used, if your phone lets you. Look for apps you have not opened in 90 days. Be honest with yourself. If you have not opened a game, a travel app, or a shopping app in three months, you probably do not need it on your phone right now.
On Android, you can archive an app instead of fully removing it in some cases. Archiving removes most of the app but keeps your data and your icon, so you can bring it back quickly. On an iPhone, offloading does something similar. It removes the app but keeps your documents and data.
I offloaded four apps I liked but rarely used. One was a travel app from a trip last year, one was a game I had finished, and two were tools I had replaced with better ones. My phone freed up a surprising amount of space, and I did not lose any account or saved work.
Offloading is different from deleting, and that difference is why it is so useful for a gentle cleanup.
If you truly do not need an app, uninstall it fully. You can always install it again later from your app store, and your account data usually lives on the company's servers, not just on your phone. Just make sure you know your login details before you remove an app you care about.
Also look for duplicate apps. Many people end up with two photo editors, two note apps, or two browsers that do almost the same thing. Pick the one you actually use, and remove or offload the other. Your phone gets simpler, and your storage gets lighter at the same time.
One more place to check is your home screen folders. Open each folder and look for apps you forgot you had. I found an old fitness app, a language app, and a food delivery app I had not used since moving to a new city. Clearing those felt good, like cleaning out a junk drawer.
After this step, restart your phone. It sounds too simple, but a restart helps your phone recount its storage and finish cleaning up temporary files. When my phone came back on, the free space number had jumped again, and the phone itself felt faster when I opened the camera.
Watch this short guide before you start your own cleanup, because seeing the steps once makes them much easier to follow.
Watch: Help my phone is full! What to do if your phone storage is full by Amanda Littlecott, The Photo Organiser
https://www.youtube.com/watch?v=472RJ9C-1m0
In that video, Amanda walks through checking storage, backing up photos first, clearing cache, and moving photos to external storage or the cloud. It matches the order in this guide, and it is a good second pair of eyes before you tap anything important.
Smarter Moves That Free Even More Room
Once the easy cleanup is done, you can try a few smarter moves. These take a little more thought, but they are the moves that keep your phone roomy for months, not just for a day.
Start with large videos. Videos take up far more space than photos, and a single long video can be bigger than hundreds of photos put together. Open your gallery and sort by size, or by video only. Look for long screen recordings, duplicate clips, and videos you have already shared.
You do not have to delete a video you love. You can back it up, then remove the local copy, just like a photo. You can also trim a long video down to the part that matters. I had a three-minute video of a birthday song, and only the first 30 seconds were actually good. Trimming it saved space and made the video better to share.
Next, look at your screenshots. Most people take screenshots and forget them. I had screenshots of maps, recipes, order numbers, and memes, all mixed in with my real photos. Open your screenshots album and delete the ones that are no longer useful. Keep the ones you still need, like a ticket or a receipt, and move those to a notes app or a safe folder.
Duplicate and near-duplicate photos are another quiet space eater. Burst mode is the main cause. You press the shutter once, and your phone saves ten almost identical photos. On an iPhone, open Photos, then Albums, then Duplicates, and merge the ones you do not need. On Android, Google Photos has a review tool that finds blurry photos, large videos, and screenshots for you.
Be careful here, and go slowly. Merge or remove duplicates only when you can see clearly that the kept version is the sharpest one.
Another smart move is to check your offline maps and offline music. Maps apps let you download whole cities for offline use, and those downloads can be huge. If you downloaded a map for a trip that is over, remove that offline area. You can download it again later if you go back.
The same goes for music and podcasts. Streaming uses data, but it does not fill your storage the way downloads do. If you have a playlist downloaded for a flight you already took, remove the download and stream it next time. Keep downloads only for places where you know you will have no signal.
Cloud storage limits are worth checking too. Your phone backup is only helpful if your cloud account still has room. If your cloud account is full, new photos may stop backing up without a clear warning. Open your cloud storage page and look at the total used. If it is nearly full, you have three honest choices: clean up old cloud files, move some files to a computer or drive, or pay for a little more cloud space if that fits your budget.
I chose to clean my cloud first. I found old device backups from phones I no longer owned, and large videos I had already saved on a drive. Removing those gave my current phone room to back up again, and it cost me nothing.
The Photo Library Cleanup That Keeps Memories Safe
Now let us talk about your photo library itself, because this is the part most people fear. The good news is that you can clean your library without deleting memories, if you separate three kinds of photos in your mind.
The first kind is the keeper. These are photos you would be sad to lose. Family moments, trips, milestones, and photos that make you smile. These stay backed up, and you do not touch them in a cleanup.
The second kind is the helper. These are screenshots, receipts, maps, and photos of things you needed once, like a parking spot or a product label. These are useful for a short time, and then they become clutter. You can delete helpers once their job is done, and nothing precious is lost.
The third kind is the accident. These are blurry shots, accidental pocket photos, black screens, and burst photos where every frame looks the same. Removing accidents does not remove memories, because there was no memory in a black screen to begin with.
I went through my library in short sessions, not all at once. I set a timer for 15 minutes, opened one month at a time, and removed only helpers and accidents. After three sessions, my library felt lighter, and I had not removed a single keeper.
Cleaning in short sessions is kinder to your attention, and it stops you from making rushed choices you later regret.
Another useful habit is to favourite your keepers. When you mark your best photos as favourites, you create a safe shortlist. Later, when you are cleaning, you can be bolder with the rest, because you know your favourites are marked and backed up.
Albums help too. Make a small album for each year, or for each big event, and add your keepers to it. This does not move the photos or change your storage much, but it makes your library feel organised. An organised library is easier to back up, easier to share, and much less scary to clean.
If you print photos, this is a good time to pick a few favourites for printing. A printed photo lives outside your phone, and it turns a digital memory into something you can hold. I printed ten photos from last year, and they now sit on a shelf where I see them every day. That felt better than having thousands of photos I never looked at.
Habits That Stop the Warning From Coming Back
Cleaning once is good. Staying clean is better. A few small habits can stop your storage from filling up again, and none of them take much time.
The first habit is a monthly storage check. Pick a day, like the first Sunday of the month, and spend five minutes looking at your storage screen. If one app has grown a lot, clear its cache. If your downloads folder is full again, empty it. Five minutes a month is far easier than a panicked cleanup before a big event.
The second habit is to turn off auto-download in messaging apps. This one change alone saved me gigabytes over a few months. Group chats can send dozens of videos a week, and your phone does not need to save every one of them. Set media to download only when you tap it, or only on Wi-Fi, and your storage will thank you.
The third habit is to review downloads right after a trip or a project. When you come home from a trip, remove offline maps, downloaded shows, and travel apps you no longer need. When you finish a project, move its files to a cloud folder or a computer, and remove the local copies. Closing the loop right away stops clutter from settling in.
The fourth habit is to back up on a schedule. If your backup runs every night on Wi-Fi while your phone charges, you will rarely have to think about it. Check once a month that backup is still complete, and you will always be ready to free up space safely when you need to.
Small habits beat big cleanups, because they stop the problem before it becomes stressful.
A related habit is to watch your phone's health, not just its storage. A phone that is always full can also run hot, restart, or charge slowly, because the system has no room to work. If you notice those signs, a storage cleanup is a good first step before you assume something is broken.
For example, if your phone keeps restarting, it is worth reading my guide on why phones restart and what actually helps. If your phone charges slowly, the charging guide can help you check your cable, charger, and port before you spend money on a new one. And if your phone gets hot, the overheating guide explains the common causes and the quick fixes that really work.
Storage, heat, charging, and restarts are often linked. A full phone works harder, and a phone that works harder can run into all of these problems at once. Keeping some free space is not just about room for photos. It is about giving your phone room to breathe.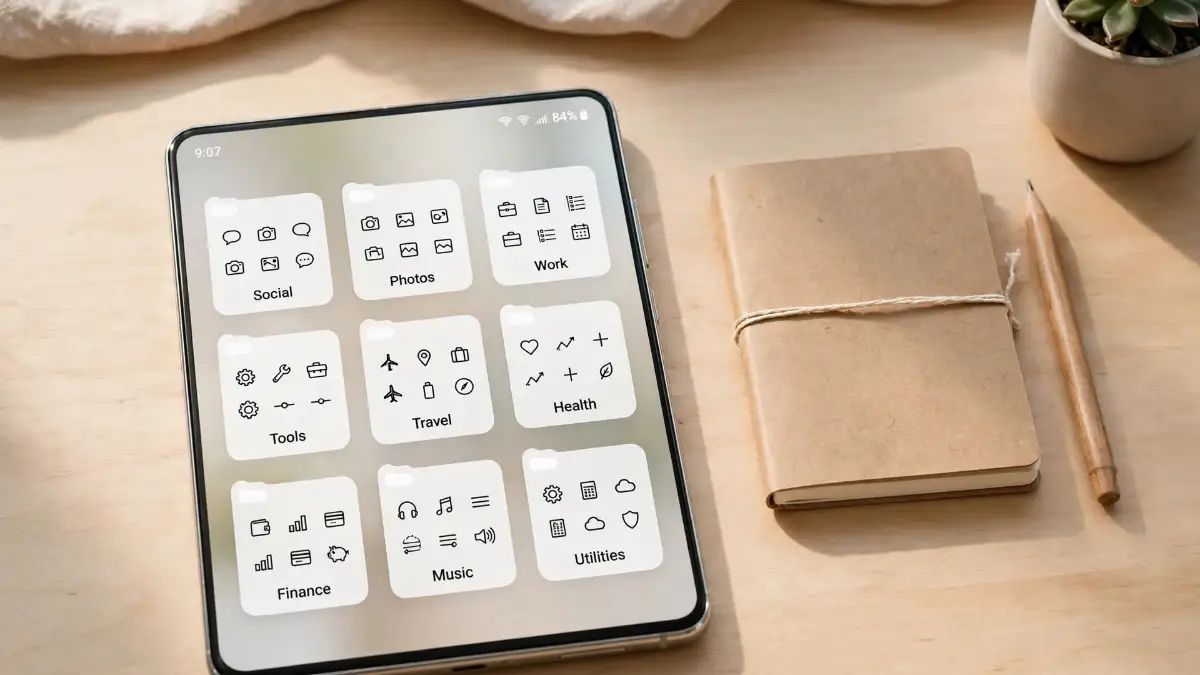
Mistakes That Can Turn a Cleanup Into a Headache
Most storage cleanups go well, but a few common mistakes can turn a simple job into a headache. I have made some of these myself, so I will name them plainly.
The first mistake is deleting photos before checking backup. This is the biggest one, and it is also the easiest to avoid. Always check that backup is complete, and open a few backed-up photos, before you remove anything from your phone. If you cannot open your backup, stop and fix that first.
The second mistake is tapping Clear Data when you meant Clear Cache. On Android, these two buttons sit close together, and they do very different things. Clear Cache removes temporary files. Clear Data can remove your login, your settings, and your saved work inside that app. Read the button twice before you tap it.
The third mistake is trusting a random cleaner app that promises to free up huge amounts of space in one tap. Some cleaner apps are fine, but many ask for too much access, show too many ads, or remove things you wanted. Your phone already has built-in storage tools, and those tools are safer and usually enough.
The fourth mistake is deleting your only copy of something. If a photo, a document, or a recording exists only on your phone, it is not backed up yet, no matter how much you wish it were. Before you delete a file you care about, make sure a second copy exists somewhere you can open.
The fifth mistake is cleaning while your phone is low on battery or on a weak connection. Backup needs power and a stable connection. If your phone dies halfway through an upload, you may think a photo is backed up when it is not. Plug in, connect to Wi-Fi, and then start.
Slow down at the risky steps, and speed up only at the safe ones. That single rule will protect you in almost every cleanup.
One more mistake is trying to do everything in one sitting. When you are tired, you make rushed choices. Take breaks, work in short sessions, and leave anything you are unsure about for a second pass. Your storage will still be there tomorrow, and your photos will be safer for the wait.
A Calmer Phone, and Room for What Comes Next
After my own cleanup, my phone felt different. The camera opened faster. Apps updated without complaints. And when my niece blew out her candles the next time, my phone was ready.
I did not buy a new phone. I did not delete my memories. I just removed the clutter that had been hiding underneath them, and I set up a few habits to keep it that way.
Your phone does not need to be perfect. It needs enough free space to do its job, and a backup you can trust. If you have those two things, the storage warning loses its power over you.
Start with the storage screen today. Clear cache and downloads first. Back up your photos and check that backup properly. Then offload the apps you rarely use, and set a monthly reminder to check again.
If you want more room for photos and videos, you may also enjoy reading about choosing a phone for vlogging and content creation, because storage and camera quality often matter together. And if you ever worry about losing photos from a memory card, the SD card recovery guide explains how to get deleted photos back and how to avoid losing them in the first place.
You deserve a phone that is ready when life happens, not one that warns you at the exact moment you need it most. Give it a little room, keep your photos safe, and let it do its job.
More Helpful Reads on This Site
If you want to keep your phone running well, these guides fit naturally with a storage cleanup. A slow-charging phone often shares the same hidden clutter, so start with why your phone charges slowly and the simple fixes that help. If your phone keeps restarting, that guide walks through the causes and the proven fixes in plain language. If your phone gets hot while you clean or back up, the overheating guide explains what to check first. To keep your photos and accounts safe while you clean, read how to tell if your phone has been hacked, because a secure phone is easier to trust with your memories. And if you ever lose photos from a memory card, the complete SD card recovery guide is a calm, step-by-step place to start.
- Why Is My Phone Charging So Slowly? 8 Reasons and Simple Fixes
- Why Does My Phone Keep Restarting? 9 Causes and Proven Fixes
- Why Is My Phone Overheating? Causes and Quick Fixes
- How to Tell If Your Phone Has Been Hacked: Warning Signs and What to Do Next
- How to Recover Deleted Photos From SD Cards: A Complete Guide
- Best Budget Smartphones for Vlogging and Content Creation
For outside reading, these guides explain the same steps from other angles: Google Photos help on freeing up space on your device; a plain guide to freeing up phone storage without losing photos; an Android cleanup walkthrough without deleting a single photo; and a look at hidden files that fill Android phones.
Answers I Wish Someone Had Given Me Before I Started Cleaning
Will clearing cache delete my photos?
No. Clearing cache removes temporary files that apps saved to load faster. It does not remove your photos, your messages, or your account. Just make sure you tap Clear Cache, not Clear Data, on Android.
Do I have to delete photos to free up a lot of space?
Not usually. Cache, downloads, offline videos, and unused apps often free up more space than photos do. Back up your photos first, and then use a free up space tool only for copies that are already backed up.
What if my cloud account is full?
Then new photos may stop backing up, so check your cloud storage before you clean. Remove old device backups or files you no longer need, move files to a computer or drive, or add a little cloud space if that fits your budget.
Is offloading an app the same as deleting it?
No. Offloading on an iPhone, and archiving on some Android phones, removes the app itself but keeps your data. When you reinstall the app, your documents and settings come back. Full uninstall removes the app, and you may need to sign in again.
How much free space should I try to keep?
Try to keep at least a few gigabytes free, and more if you take a lot of photos and videos. When free space drops below about 2 GB, updates and photos can start to fail, so that is a good time to run a quick cleanup.
How often should I clean my phone?
A quick five-minute check once a month is enough for most people. Clear cache for your biggest apps, empty downloads, and check that backup is still complete. A deeper cleanup once or twice a year keeps everything calm.
A Short Note Before You Start
This guide is general information for everyday phone cleanup, not professional technical advice for a damaged or unusual device. If your phone has a swollen battery, water damage, or a serious fault, do not try to fix it with a cleanup. Get help from a qualified repair service instead. Always check your backup before you remove files, and keep a second copy of anything you cannot afford to lose.
If your phone also drops Wi-Fi and acts strangely, read my guide on why your phone Wi-Fi keeps dropping and how to fix it at home before you assume the Wi-Fi hardware is at fault.