The Day My Camera Screen Showed the Black Screen of Doom
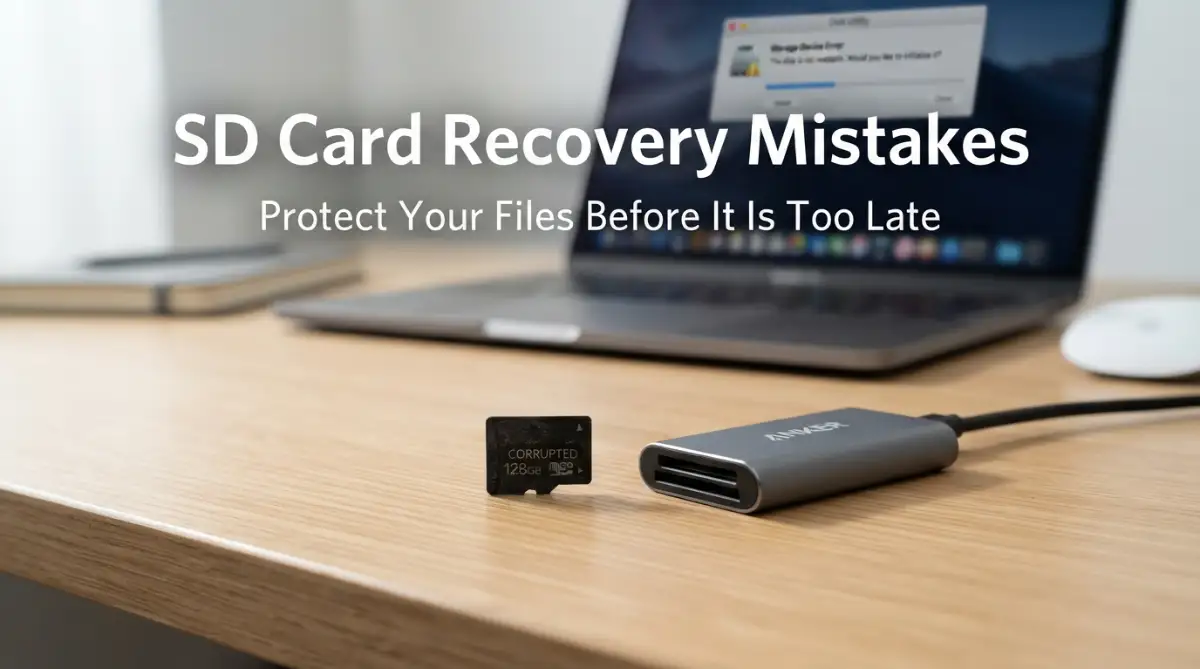
Seeing a card error right after a shoot feels like getting punched in the gut. Your first reaction is probably to take the card out, plug it back in, and click whatever button pops up. Stop right there. That exact impulse ruins more files than hardware failure ever will. In this guide, I will walk you through what to do right now so you pull your photos back safely without breaking your storage chip for good.
I had just returned from a long trip filled with irreplaceable family pictures and personal work projects. Without thinking, I repeatedly pulled the tiny plastic chip out of the slot, shoved it into my laptop, and hit every prompt that popped up.
My rush turned a tiny logical file error into a permanent hardware nightmare. I ended up wiping out dozens of special moments simply because panic took the driver's seat.
When your storage media suddenly stops reading, your day comes to a full stop. You feel helpless, sweaty, and terrified that one wrong click will wipe everything into oblivion.
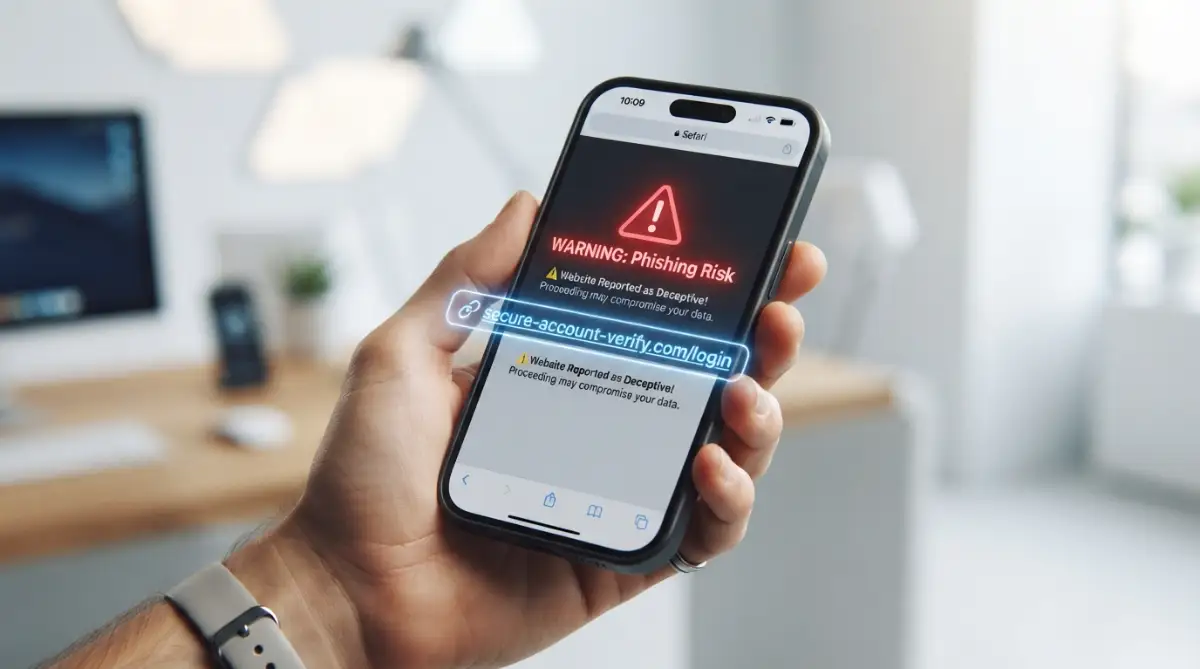
Most people panic and search for quick fixes online, clicking download buttons on random tools that promise miracles in seconds.

That blind panic is where the real disaster begins for almost every user. The truth is, flash memory does not behave like an old magnetic spinning hard drive.
When an SD card starts acting strange, treating it like a normal storage drive is the quickest path to total data destruction.
Emergency Playbook: Read This Before You Touch Anything
-
Do not take another picture: Snapping even one test photo will permanently overwrite your lost pictures in the background.
-
Say no to formatting: The format prompt is a file system error, not an invitation to wipe your media.
-
Lock the write switch: Slide the mechanical lock tab on the side of your card down before inserting it into any computer.
-
Clone before you scan: Always create a complete disk image on your hard drive and run recovery software on the copy, never on the original chip.
What Really Happens Inside Your Memory Card When Errors Appear
Every memory card depends on tiny microscopic storage cells arranged in a grid known as NAND flash. These cells hold electrical charges that translate into your pictures, audio tracks, and documents.
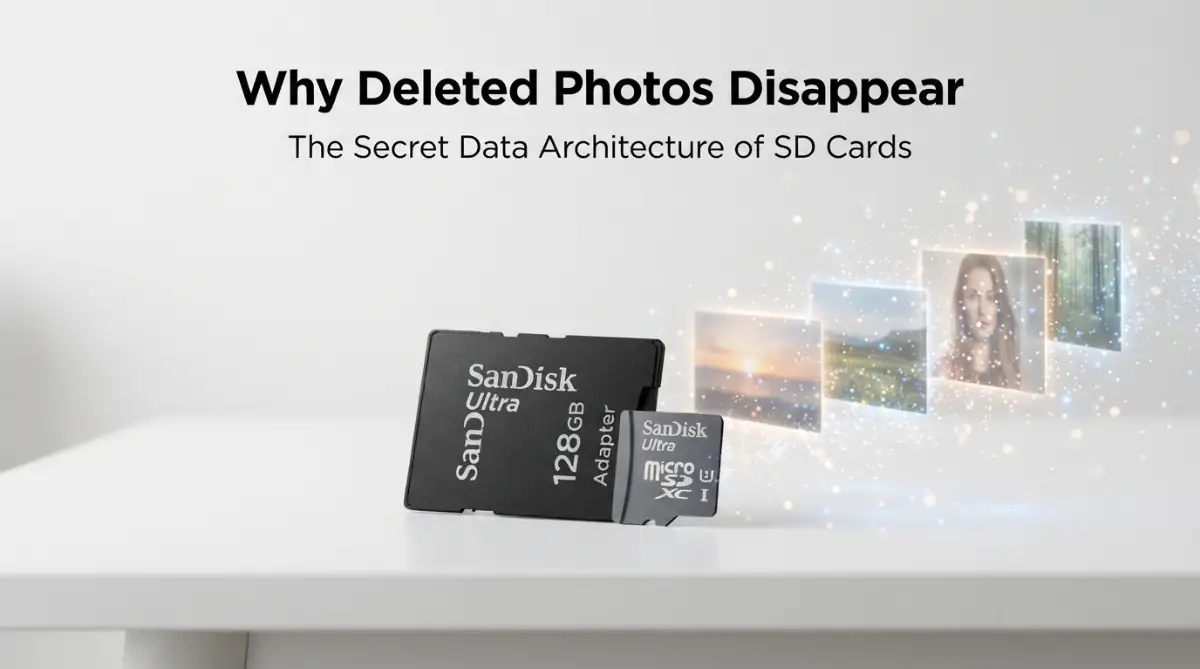
When your phone or camera tells you an SD card is unreadable, the raw data is usually still sitting untouched in those cells. What broke down is almost always the file index, which acts like the table of contents in an encyclopedia.
If the index gets scrambled by a sudden drop in voltage or an unexpected removal, the system gets lost. The computer assumes the space is empty or broken, even though your files are still right where you left them.
Physical wear also plays a silent part in these failures. Flash cells have a fixed endurance limit, meaning they can only endure so many write cycles before the gate insulation breaks down.
When you rush to fix the drive using aggressive software routines, you force electricity into damaged or unstable cells. That extra stress can collapse weak cells, turning an easy rescue project into a permanently dead piece of silicon.
Understanding this hardware reality is your best weapon against permanent loss. Once you respect how delicate these electronic pathways are, you will approach every error screen with calm caution.
Critical Blunders That Turn Minor Glitches Into Permanent Loss
Blunder 1: Writing Fresh Information to the Failing Card
The absolute worst thing anyone can do with an unstable storage card is to keep taking photos or moving files onto it. When a file gets marked as deleted or unreadable, the computer labels that memory block as free space.
As long as you leave that space alone, specialized software can scan the raw memory banks and assemble your files back together. But the moment you snap a new photo, the device writes new electronic charges directly over the old ones.
Once raw flash memory gets overwritten, no software on earth can bring the old information back. Treat the card as frozen in time the exact second you see the very first warning message.
Blunder 2: Hitting the Format Button in Desperation
When you slide a glitchy card into a computer, the operating system often pops up an alert saying the disk needs formatting before use. Many people click "Format Disk" thinking it will clean up the bugs and make their files accessible again.
Formatting does not repair your files; it actively wipes the directory structure and builds an entirely new partition map over the old layout. While a quick format does not erase every data cell instantly, it scrambles the pointers that recovery utilities depend on.
If the card uses modern controller commands, formatting might even trigger internal background cleanup cycles. When that happens, the controller erases the underlying data blocks on its own, leaving behind pure empty space.
Blunder 3: Installing Cheap or Shady "Free" Recovery Utilities
Typing your problem into a search engine will flood your screen with hundreds of free utilities claiming instant recovery. Desperate users download the first three tools they see and run aggressive scans back to back.
Poorly coded recovery utilities are notoriously dangerous because they try to write temporary cache files directly onto the target card. That reckless write activity crushes the exact photos you are struggling to pull back from the dead.
Many of these shady downloads also bundle system bloatware that monitors your device and creates system-level conflicts. Always stick to established, tested software that operates strictly in a read-only environment.
Blunder 4: Running System Disk Checking Tools Blindly
Built-in computer maintenance utilities like Windows CHKDSK or system repair scanners are built to fix system drives, not save lost media. They care about making the file system neat and tidy, not preserving your original family albums.
When CHKDSK spots a broken or orphan file pointer, it often truncates the file or converts pieces of your photos into generic system chunks. Once those files get converted into chopped fragments, sorting them back into working images is nearly impossible.
These built-in repair tools also write changes back to the memory card during the fix process. You must never run automated disk repair programs on any drive you plan to recover files from.
Watch this short guide to see how delicate flash storage really is and why gentle handling saves files:
Blunder 5: Using Broken Card Readers and Faulty Cables
Sometimes the memory card is completely healthy, but the cheap reader you bought at a convenience store has failed. Worn USB pins, loose cables, and weak ports can drop power for a split second while your computer reads the card.
That microscopic power interruption during an active scan can corrupt the card controller completely. A simple connection glitch turns a harmless reading hiccup into a true electronic failure.
Always plug your card reader straight into your computer's main motherboard ports on the back. Avoid unpowered USB hubs that share weak power between multiple external keyboards, mice, and desk accessories.
Realities of Memory Card Behavior: Myth vs Fact
| Popular Belief | Engineering Reality | Safe Action to Take |
| Freezing the card fixes connection drops | Moisture damages internal flash electronics | Keep the card at room temperature in a dry spot |
| Formatting cleans up bad sectors | Formatting strips away the file directory | Always decline system format prompts |
| Snapping one test picture checks if it works | New writes overwrite old recoverable images | Remove the card immediately and lock the switch |
| Disk repair tools fix broken photos | Repair tools chop and rename corrupt files | Use dedicated read-only recovery tools instead |
Quick Field Reference: Card Errors and What They Actually Mean
-
Error Message: Card Not Initialized or Format Required
Real Problem: Corrupted partition table or unreadable master file table.
Chance of Full Recovery: 90% to 95% if you avoid writing new data.
Safe First Step: Decline format, lock the write switch, and make a raw disk clone. -
Error Message: Read / Write Error While Shooting
Real Problem: Bad flash blocks or sudden voltage drop during file writing.
Chance of Full Recovery: 70% to 80% of existing older photos.
Safe First Step: Turn the camera off completely before removing the card. -
Error Message: Device Shows 0 Bytes Capacity
Real Problem: Damaged controller chip or cracked internal power rail.
Chance of Full Recovery: Under 15% using home software.
Safe First Step: Unplug immediately to stop thermal burn. Contact a cleanroom lab.
The Direct Inspection Checklist Before You Touch Any Software
Take the memory card out of the host camera, drone, or smartphone right away. Find the tiny physical write-protect switch on the left side of standard SD cards and slide it down into the locked position.
This mechanical switch tells compatible card readers to refuse any incoming write requests from your operating system. While micro SD cards lack this physical switch, you can achieve similar safety by using hardware-locked adapter sleeves.
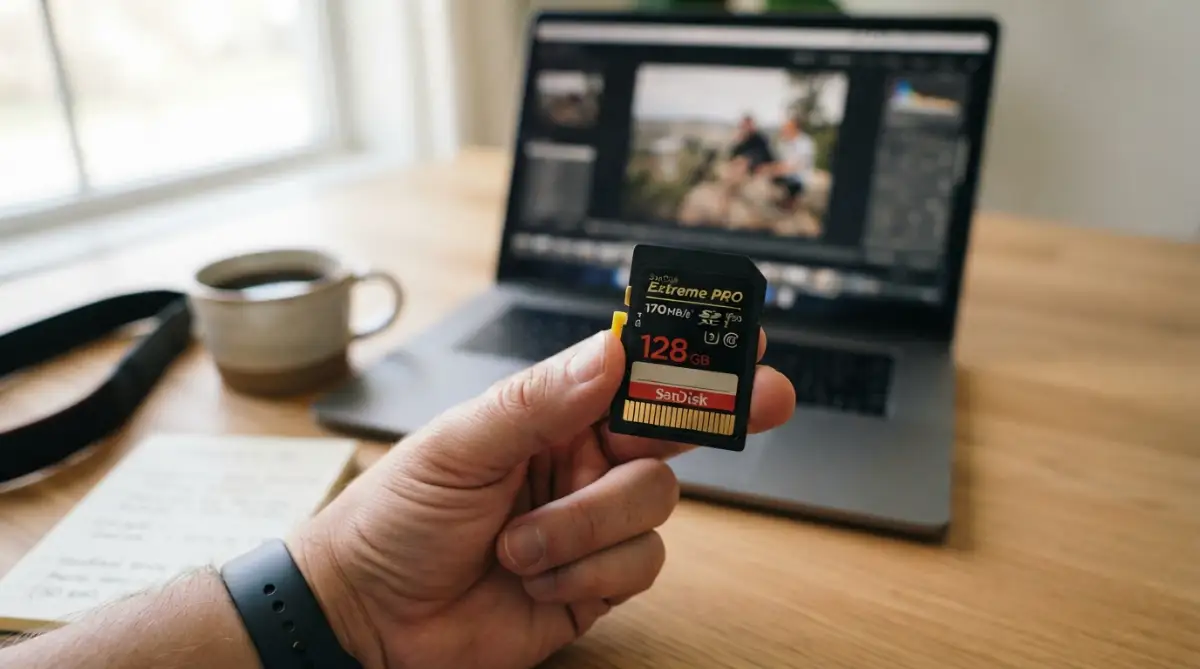
Next, look closely at the golden contact pins on the back of the chip under good lighting. Dust, pocket lint, or finger grease often coat these gold strips, blocking the electrical signals between the card and your computer.
Take a clean micro-fiber cloth lightly dampened with high-percentage isopropyl alcohol and gently wipe the gold pins. Let the card air dry completely for two minutes before putting it into a dependable external reader.
Connect the reader to your primary desktop machine and open your operating system's disk manager utility. You want to confirm whether the operating system can still recognize the raw storage capacity of the card.
If the disk manager shows the correct gigabyte size, your card controller is alive and logical file recovery is totally achievable. If the card shows zero bytes or fails to appear at all, the controller may have suffered hardware failure.
Safe Extraction Workflow: How to Handle Failing Flash Storage
The golden rule of professional data recovery is simple: never perform recovery operations on the original media card. Every scan puts mechanical, thermal, and electrical strain on an already failing silicon chip.
Instead, create a complete sector-by-sector disk image of the memory card and save that mirror copy onto your computer's healthy hard drive. A sector image creates an exact, byte-for-byte duplicate of every single block, both empty and used.
Once you generate this image file, put the physical SD card in a protective plastic case and tuck it safely into a desk drawer. You can then run your recovery software against the backup image as many times as needed without risking hardware burnout.
If an extraction attempt crashes or fails, your original physical card remains untouched, safe, and ready for alternative methods. This single safety step separates professionals from people who accidentally destroy their own files.
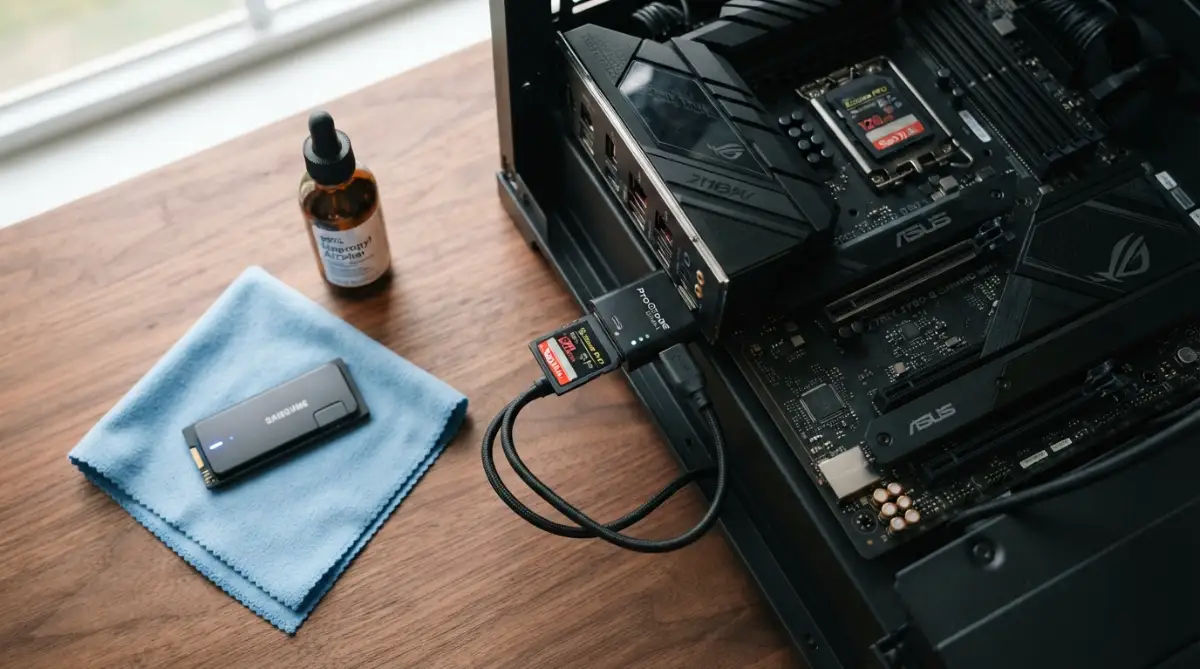
I learned this the hard way several years ago when an old memory card overheated during an aggressive deep scan. My card became scorching hot to the touch, the controller burned out, and I lost all my files in an instant.
If I had simply cloned the drive first, I would have preserved every image safely on my internal hard drive. Ever since that painful afternoon, I never run file searches directly on damaged physical chips.
Clear Signs Your Card Needs a Pro Instead of Home Software
Home data retrieval utilities work wonders for accidental deletion, accidental quick formats, and mild file index corruptions. But software cannot fix broken hardware, fractured circuit traces, or blown internal power controllers.
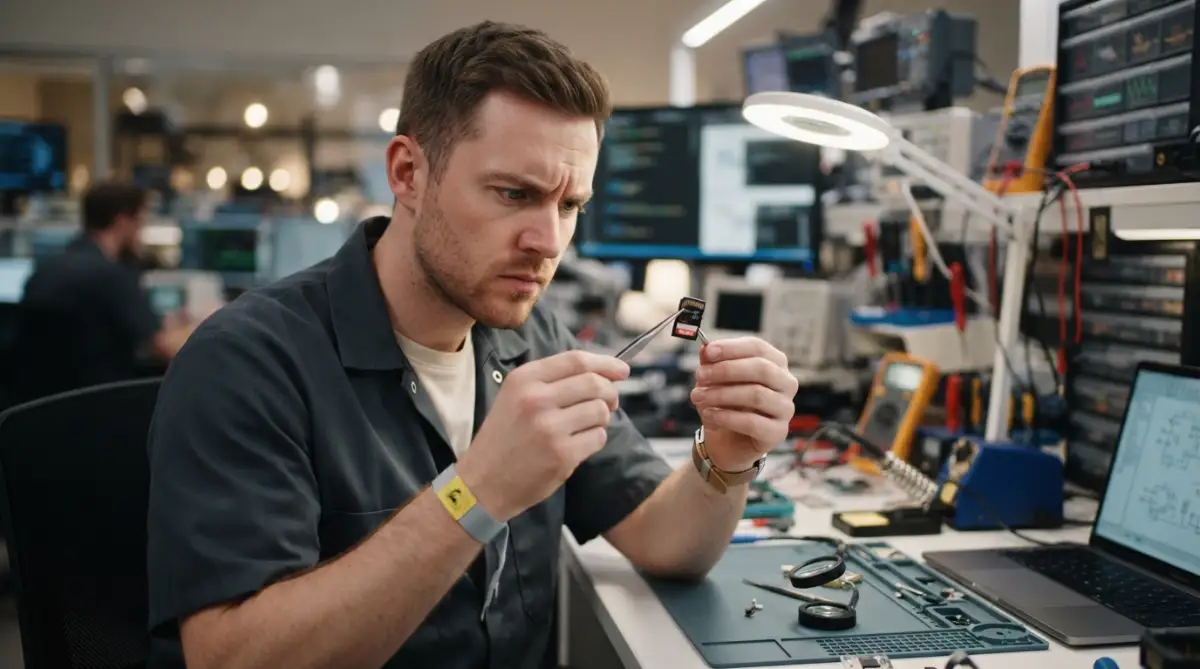
If your SD card feels unusually hot within thirty seconds of being plugged in, disconnect it right away. Excessive heat means an internal short circuit is drawing dangerous current, which will quickly melt internal bonds.
Another alarming sign is when your computer identifies the card as an unfamiliar USB device with a strange system name like generic storage controller. That naming glitch means the card's firmware has crashed, preventing direct communication with the memory banks.
Physical cracks in the plastic casing or bent corner pins are also beyond the reach of normal software. Trying to scan a cracked chip can crack the silicon die inside, permanently destroying the data layer.
When you run into these hardware warnings, unplug the device and consult an experienced data rescue lab equipped with specialized chip-off reading hardware. Continuing to power up a shorted chip will turn a fixable problem into permanent loss.
Everyday Habits That Keep Your SD Cards Healthy
Preventing file corruption is always simpler than trying to piece shattered documents back together under pressure. The easiest protective habit is formatting your card inside the camera or device you plan to use, rather than on your computer.
Every camera brand handles file structures in its own specific way, optimizing cluster sizes for video writing speeds. Formatting inside the host camera ensures the file table matches the exact hardware specifications of that device.
Always turn off your camera or phone completely before removing the card from the internal slot. Pulling a card while the device writes cached system data will scramble the file header instantly.
Invest in a rigid, water-resistant memory card carrying case instead of letting loose chips bounce around in pockets or backpacks. Static electricity from clothing and friction can zap delicate flash gates without showing any visible marks.
Lastly, retire memory cards that have seen years of heavy daily use, even if they appear to work without issues. Flash memory wears down with every single use, so replacing old cards regularly is cheap insurance for your precious memories.
Advanced Rescue Techniques and Long-Term Flash Care
Saving files from an unstable memory card requires patience and an orderly workflow. When you move beyond simple file scanning, you step into raw sector cloning.
Raw disk cloning creates a mirror copy of every bit on the storage chip before the hardware degrades further. By using safe tools that support reverse reading, you pull undamaged files first before touching problematic sectors.
Specialized disk utilities can skip bad memory blocks automatically instead of getting stuck in an endless read loop. When a normal computer encounters a dead sector, it freezes up and continuously sends read requests until the flash gate overheats.
Advanced cloning tools recognize unreadable blocks within milliseconds and skip forward to salvage the healthy files waiting behind them. Once the healthy data sits safely on your internal storage, the tool returns to make a gentle pass over the troubled sections.
Flash storage also depends on proper electrical grounding and steady voltage supply. If an external card reader gets dirty or loses its grip on USB pins, voltage spikes can wipe out the card's master boot record.
High-grade card readers feature dedicated power regulators that filter out tiny electrical ripples from cheap wall plugs and loose ports. The SD Association technical standards outline how consistent operating voltage protects high-speed flash controllers from sudden logic collapse.
You also need to understand how write caching interacts with physical card removal. Operating systems often hold file changes in temporary computer memory rather than writing them to the flash chip immediately.
If you pull the card out while the operating system is holding those cached writes, you snap the file chain in half. Always use your system's safe removal option to flush out pending data streams before pulling the card from its slot.
Long-term storage safety is another neglected part of flash drive care. Flash memory cells do not hold charges forever when left unpowered in a dark drawer.
Over months of sitting idle, the tiny electrical charges inside the floating gate transistors slowly leak away. This silent decay is known as charge leakage or bit rot, and it can quietly ruin archived files without any visible drop or spill.
To prevent this silent decay, power up your archival memory cards every six months using a stable computer connection. A quick read cycle refreshes the charge distribution across the cells and alerts you to early sector decay before total failure strikes.
Destructive Pitfalls That Permanently Wipe Flash Storage
Attempting Internet DIY Tricks Like Freezing or Baking
One of the most dangerous myths floating around online forums suggests putting failing cards into kitchen freezers. People believe cooling down the chip shrinks broken metal pins back into alignment.
In reality, putting cold electronics back into warm room air creates immediate condensation on microscopic circuit traces. That internal moisture short-circuits delicate controller lines the exact moment you connect the card to power.
The opposite trick—using a hair dryer or heat gun to re-solder broken traces—is even more destructive. High uncontrolled heat warps the thin epoxy resin housing and permanently cooks the silicon die inside.
Running Defragmentation Tools on Flash Drives
Traditional mechanical hard drives gain speed when you rearrange scattered file fragments into neat continuous rows. But flash storage operates on completely different principles and never benefits from disk defragmentation.
Running a defragmenter on an SD card forces hundreds of thousands of unnecessary read-and-write cycles in a few minutes. That artificial stress rapidly burns down the flash endurance limit and pushes weak sectors straight into total failure.
You can learn more about safe drive maintenance by checking our guide on defragmenting and trimming flash memory to see why flash media must be treated differently. Never allow any automated computer utility to defragment your memory cards or portable solid-state drives.
Forcing Glitchy Cards Back Into Mobile Devices
When a smartphone or tablet shows an unreadable card error, users often leave the chip inside hoping a reboot will fix it. This is a severe mistake that causes irreversible background damage.
Mobile operating systems run continuous background indexing tasks, searching for media files to build image galleries and update app caches. The moment the operating system mounts a half-broken card, it starts writing hidden system folders directly to the remaining free space.
Those automated background writes quickly replace your deleted pictures with empty system index files. If you need step-by-step guidance on safely recovering media without destructive formatting, review our walkthrough on sd card deleted photos recovery without formatting.
Ignoring Signs of Electronic Overheating
When flash memory controllers begin to fail internally, they frequently pull excessive current from the computer port. You can detect this problem within seconds simply by touching the plastic casing of the reader.
If the card feels hot enough to make you pull your finger away, cut the power immediately. Continuing to push power into a hot card will burn tiny interconnect wires inside the silicone packaging.
Once those microscopic wires melt, no consumer software will ever detect the storage device again. When physical heat shows up, professional recovery equipment is your only remaining path forward.
Quick Comparison: Rescue Do's and Don'ts
-
Do: Lock the physical write-protection switch on standard cards before inserting them into an external reader.
-
Don't: Run automatic system scans like CHKDSK or third-party registry cleaners on an unstable chip.
-
Do: Create a raw disk image file on your main drive and perform all recovery scans on that copy.
-
Don't: Save recovered files back onto the same memory card you are scanning.
-
Do: Use high-grade USB ports located directly on your computer's rear motherboard panel.
-
Don't: Use cheap, unpowered USB extension hubs that drop power during deep sector reads.
The Hidden Risk of Repeated Scans
Every time a software program scans a memory card, it reads millions of sectors from start to finish. If your card has weak cells, repeating deep scans three or four times will push those tired sectors over the edge.
People often test three different free software apps in a single afternoon, running a deep scan with each tool. By the time the third application starts, the controller dies completely under the sustained thermal load.
If your first careful scan with a trusted tool does not show your missing files, stop immediately. Step back and investigate whether your situation matches what science says about recovering permanently deleted photos before you stress the hardware any further.
Building a Bulletproof Plan to Protect Your Files
Recovering from a scary data scare should completely change how you treat digital storage moving forward. Technology will always fail eventually, but smart habits ensure a broken chip never ruins your week.For a step-by-step recovery process, see our complete guide on how to recover deleted photos from an SD card before taking any recovery action.
Adopt a simple version of the classic 3-2-1 backup strategy for every project you care about. Keep three total copies of your important files across two different physical storage types, with at least one copy stored safely off-site.
A practical way to handle this is pairing your physical cards with automated cloud storage backups that run whenever your computer connects to home internet. The moment your files land on your computer, a duplicate copy uploads to an off-site server without requiring any manual effort.
Before using a brand-new memory card for an important event, test it thoroughly using safe capacity-verification software. Counterfeit memory cards are widespread across online marketplaces, often hacking card controllers to display 256 gigabytes when the actual hardware only holds 16 gigabytes.
When a counterfeit card fills past its real physical capacity, it silently loops back and writes new files right over the old ones. A quick test on day one proves whether your new card has genuine NAND storage chips inside.
Treat memory cards as temporary transport vehicles rather than permanent storage vaults. Move your files off the card as soon as your shooting session wraps up, and verify that the files open properly on your computer before clearing the card.
I know how painful it feels to watch precious pictures disappear behind a wall of cold error codes. Take a deep breath, put your card into a safe plastic case, and follow these careful steps without rushing. My own past mistakes taught me that patience and gentle handling will save files you thought were gone forever.
My Personal 3-Minute Rescue Checklist (Print or Save This)
-
Flip the physical switch on your SD card down into the Lock position immediately.
-
Inspect the copper pins on the back with your phone flashlight for pocket dirt or oil.
-
Plug the card into a rear USB port on your desktop, never an unpowered front splitter.
-
If your computer asks to scan and fix the drive, click Cancel immediately.
-
Create a byte-by-byte raw image file first, then run your file recovery tools strictly on that clone.
Essential Answers for Saving Your Flash Media
Can I recover files from an SD card that asks to be formatted?
Yes, you can usually recover your files because the raw data remains safe inside the storage cells. The prompt simply means your computer cannot read the file system index. Decline the format prompt immediately and use trusted read-only recovery software to scan the card.To understand why deleted photos can appear to disappear even when the underlying data may still be present, see our guide on why deleted photos disappear from an SD card.
Why do recovered photos sometimes appear half grey or broken?
This issue happens when pieces of the original file were overwritten before the recovery scan took place. Flash memory breaks large images across several sectors, and if even one sector gets overwritten or corrupted, the picture displays blank grey bars.
Does placing an SD card into a smartphone hurt recovery chances?
Yes, connecting a failing card to a phone lowers your chances of a successful recovery. Mobile operating systems automatically write system cache files and thumbnail folders the moment a card mounts, which quickly overwrites your lost files.
How do I know if my memory card has physical hardware damage?
If the card feels hot to the touch within seconds or fails to show up in your operating system's disk management tool, it likely has internal hardware damage. When the computer cannot detect the card's electronic presence, software cannot help and professional clean-room repair is required.
Disclaimer: The technical information provided in this guide is intended solely for general educational and data safety purposes. Flash memory recovery results can vary depending on hardware age, electrical wear, physical damage, and file system conditions. Users should handle failing storage media with care or seek certified hardware recovery professionals when dealing with critical or irreplaceable data. This publication does not guarantee complete data retrieval in cases involving severe electronic or physical component failure.