Title: How to Recover Deleted Photos from SD Cards (A Complete Guide)
I just clicked 'Delete All' on my camera. My heart stopped. If you are here, you probably did the same thing—or your SD card is acting like it doesn't know you anymore. Don't worry, your photos are likely still there, sitting silently in the background. I’ve been through this mess before, and I’m going to show you how to get those files back without spending a dime or losing your mind.
In this complete guide, I will show you exactly how to get your deleted photos back using free and reliable software. You do not need to be a tech expert to follow along.
Quick Summary: Your Emergency Cheat Sheet
- Stop! If you just lost your photos, pull the card out now. Any new data will overwrite your memories forever.
- The Big Secret: Deleted files aren't actually gone; the card just hides them until something else takes their spot.
- Tools You Need: I recommend Recuva for PC users (it's free) and Disk Drill if you use a Mac.
- The Golden Rule: Never save recovered photos back onto the same SD card. Use your computer’s hard drive instead.
🛑 Read This Before You Do Anything Else
If you just lost your photos, follow these golden rules immediately to ensure a successful recovery:
- Stop Using the Card: Take the SD card out of your camera or phone right now. Do not take even one more "test" photo.
- Say No to Formatting: If your computer asks to "Format" the card to fix it, click Cancel immediately.
- Check the Lock Switch: Ensure the tiny physical switch on the side of your SD card isn't in the 'Lock' position.
- Use a Computer: Recovery is much more successful on a PC or Mac than trying to use a mobile app.
Why Your Photos Are Likely Still Safe
As long as you do not take new pictures (which would overwrite that "empty" space), your old photos are sitting quietly in the background, waiting to be rescued by recovery software. (If you want to understand how memory storage works, you can read more about
Myth vs. Reality: What Actually Works?
- Myth: You can fix a broken SD card by putting it in the freezer.
- Fact: Please don't. Moisture will kill the card. Use software, not your fridge.
- Myth: You need to pay $100 for "Pro" software to find photos.
- Fact: Most free tools use the same scanning tech. Try the free options I listed below first.
- Myth: If the card is physically snapped, software can fix it.
- Fact: No. If the card is broken in half, you need a laboratory, not an app.
Top Free Tools to Recover Deleted Photos
To get your photos back, we need specific tools. Here is a quick comparison of the most reliable data recovery software options you should use:
- Recuva (Best for Windows): A completely free and user-friendly tool.
- Pros: 100% free, very lightweight, incredibly easy to use for beginners.
- Cons: Not available for Mac, struggles with severely corrupted RAW drives.
- Disk Drill (Best for Mac & Windows): A premium tool with a great free trial.
- Pros: Beautiful modern interface, excellent preview feature, supports a huge variety of file formats (including RAW camera files).
- Cons: The free version only allows up to 500MB of data recovery (on Windows).
- PhotoRec (Best for Advanced Users):
- Pros: Completely free and open-source, extremely powerful at recovering deeply buried files.
- Cons: No visual interface (it looks like a black command-prompt window), which makes it very intimidating for non-tech-savvy users.
Table: Which Tool Should You Pick?
Tool Name | Best For | Price | Success Odds
Recuva | Windows Beginners | $0 (Free) | Very High
Disk Drill | Mac Users | Free Trial | High
PhotoRec | Tech Nerds | $0 (Free) | Extreme
Professional Lab | Physically Broken Cards | Expensive | Guaranteed
Step-by-Step Guide for Windows (Using Recuva)
For Windows users, we recommend using Recuva as it is completely free and easy to navigate.
Step 1: Get Your Computer Ready and Connect the Card
Plug your SD card into a reliable card reader and connect it to your computer. Make sure the connection is tight. Note: If a pop-up asks you to format the drive, close it immediately!
Step 2: Download and Open Recuva
Download the software from the software and install it. Open the program, and a "Wizard" will greet you to make the process simple.
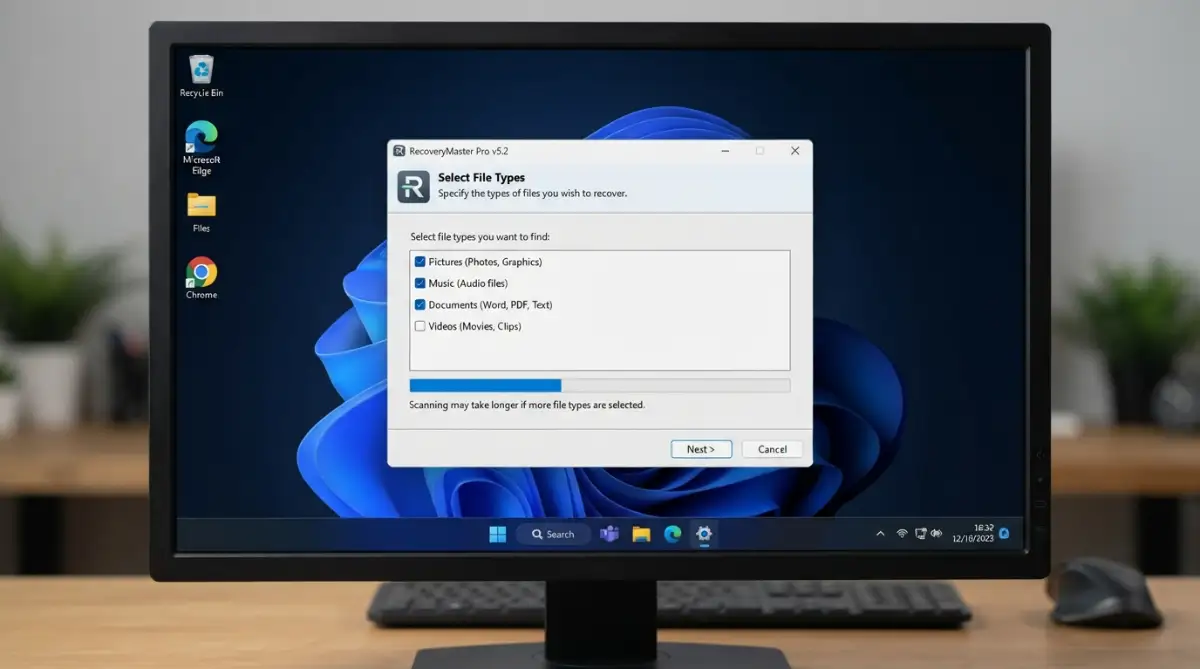
Step 3: Select File Type and Location
- The software will ask what type of files you are trying to recover. Select "Pictures".
- Next, it will ask where the files were. Choose "In a specific location" and browse to select your connected SD Card drive.
Step 4: Run the Deep Scan
Before you click 'Start', make sure to check the box that says "Enable Deep Scan". This feature looks at every single tiny bit of data on the card instead of just looking at the file names.
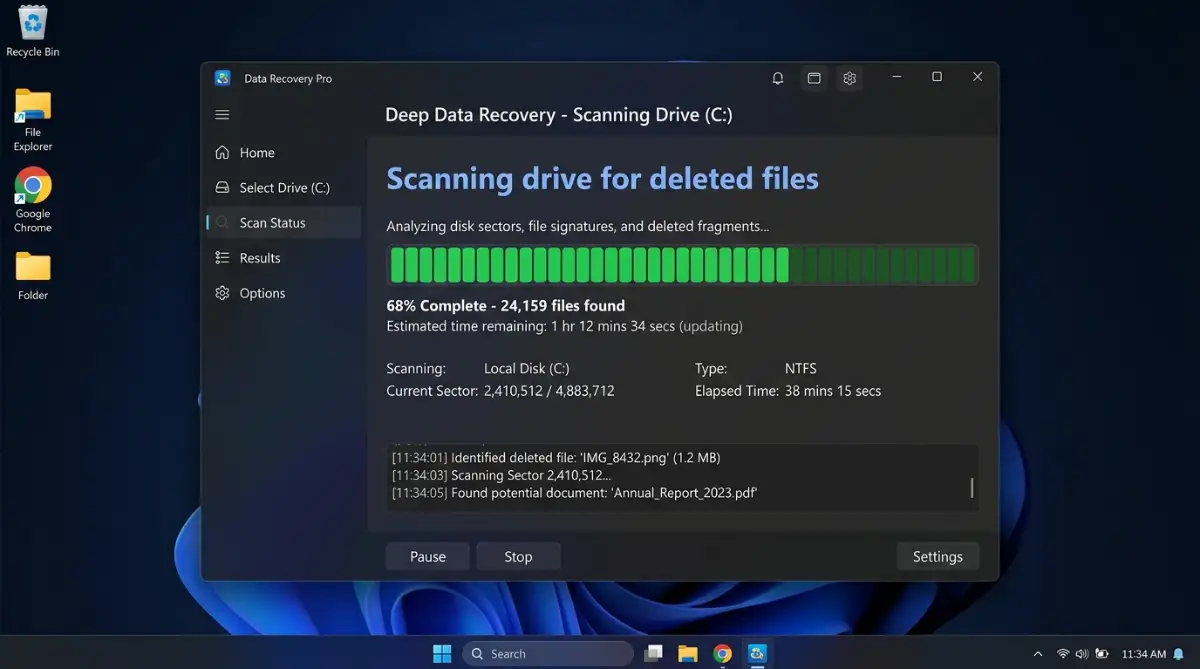
Step 5: Preview and Save Your Photos
Once the scan is done, select the photos you want to bring back and click the "Recover" button.
CRITICAL STEP: Choose a folder on your computer’s Desktop or Hard Drive to save them. Do not select the SD card as the destination. Saving recovered files back to the exact same SD card can overwrite the data!
Recovering Photos on a Mac (Using Disk Drill)
Since Recuva is only available for Windows, Mac users need a different solution. Disk Drill is one of the most reliable options for macOS.
- Download and Install: Go to the CleverFiles website, download Disk Drill for Mac, and install it.
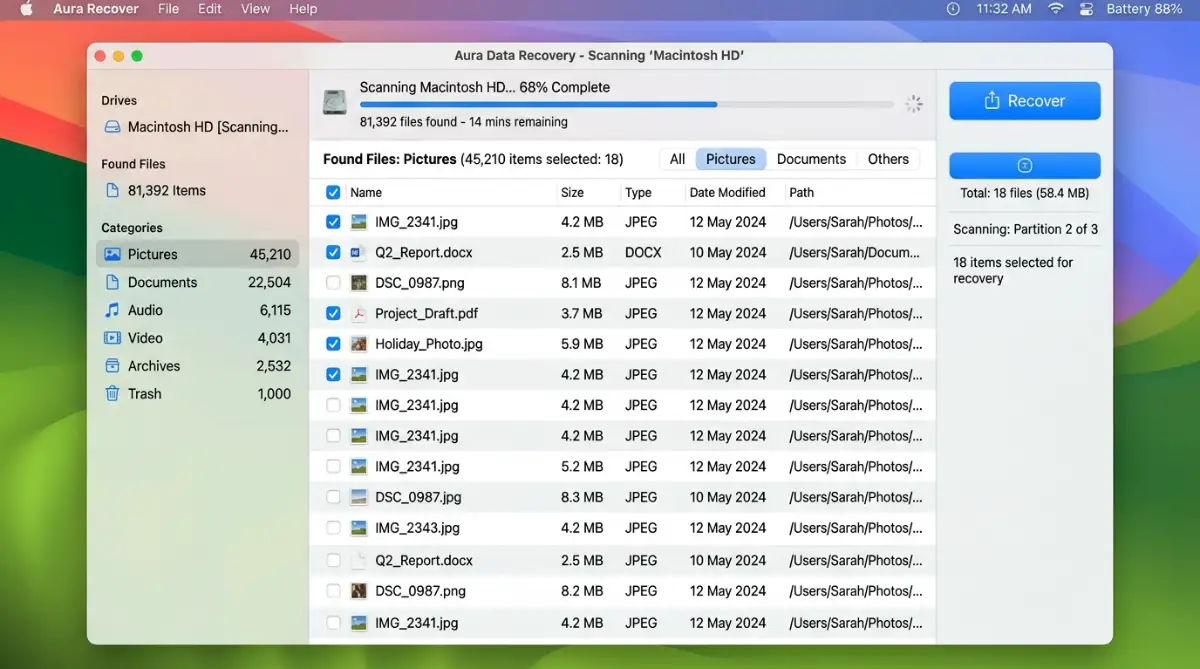
- Connect and Select: Plug in your SD card. Open Disk Drill, and you will see a list of drives. Find your SD card on the list.
- Search for Lost Data: Click the "Search for lost data" button next to your SD card.
- Review and Recover: Once the scan finishes, click "Review found items." You can filter the results to only show "Pictures." Select the photos you want back, click "Recover," and save them to your Mac's internal hard drive.
What to Do If Your SD Card Shows as "RAW" or "Unreadable"
Sometimes, your computer might recognize that a card is plugged in, but it will give you an error saying the drive is "Unreadable" or that the file system is "RAW." Do not panic, and do not format the card.
A "RAW" error simply means the partition table—the map that tells the computer where files are located—has been corrupted. The photos are still inside. Professional tools like TestDisk (free but uses a command-line interface) or premium versions of EaseUS Data Recovery are excellent at reading RAW drives and bypassing the broken map.
Why Do SD Cards Fail? (And How to Prevent It)
To prevent this heart-stopping panic from happening again, it helps to know how to maintain your gear:
- Never Pull the Card While the Camera is On: Always turn the camera off and wait three seconds before taking the card out.
- Format in the Camera, Not the PC: Whenever you need to clear your card after backing up photos, use your camera's internal "Format" menu.
- Keep Away from Extreme Heat: Leaving your camera or SD card in a hot car can damage the internal memory chips.
- Replace Old Cards: SD cards have a limited lifespan. If you have been using the same card heavily for 3-4 years, it might be time to buy a fresh one.
(For more tips on keeping your digital life safe, check out our guide on
Frequently Asked Questions (FAQs)
Can I recover photos from a physically broken SD card?
Sadly, if the card is snapped in half or the internal memory chip is cracked, software cannot help you. You would need to contact a professional data recovery lab.
Why do some recovered photos look half-grey or blurry?
This happens when the file was partially overwritten by new data before you started the recovery, or if the card has "bad sectors." The software tries its best, but sometimes parts of the image data are permanently lost.
How long do I have before the photos disappear forever?
There is no "timer" on your photos. They will stay on the card for years as long as you don't take new photos and save data on top of them.
Final Thoughts
Losing photos is a scary moment, but by acting fast and using the right tools, you have a very high chance of getting everything back. Remember the golden rule: Stop using the card immediately after data loss.
A Quick Final Note From Me
I really hope this guide helps you find your lost memories. Just a quick heads-up: while I have seen these tools work wonders many times, data recovery isn't always 100% guaranteed. If your photos are worth thousands of dollars or are once-in-a-lifetime professional shots, it might be safer to skip the DIY steps and talk to a data recovery expert instead.
But for most of us who just accidentally hit 'delete,' the steps I shared above are your best shot. Good luck, and once you get your photos back, make sure to save a copy on your computer or the cloud right away!.For More update visit this smartinfo36